
Marketing & Events
Picshots Post-Event Photo Plan: Don’t Lose Memories
After your event, the real work is clarity: what to collect, when to review, and how to share guest photos without chaos. This plan shows a simple workflow—plus how Picshots keeps everything organized so your memories stay complete.
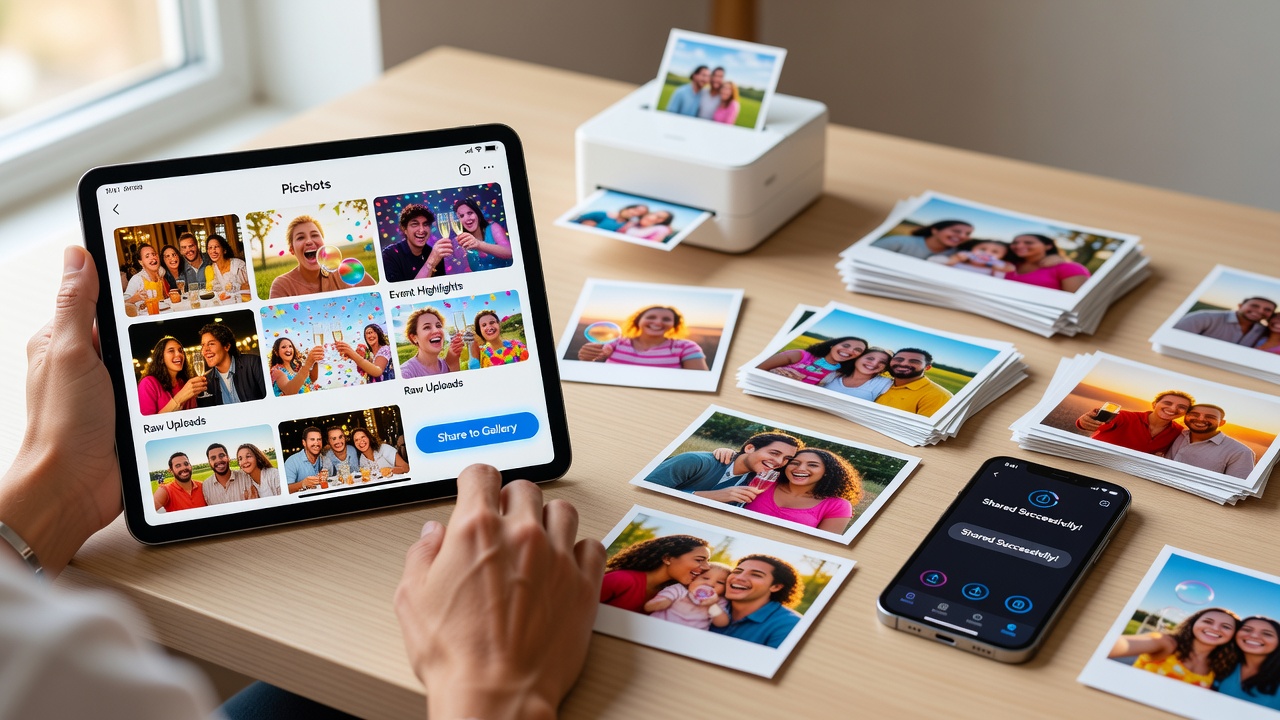
Picshots post-event guest photo capture and sharing: Your Plan to Keep Every Memory
Quick Answer: To stay organized after an event, collect all guest photos quickly, review them within a tight window, sort them by moment and person, and then share through a single, permission-friendly link. Using Picshots post-event guest photo capture and sharing helps you centralize uploads, tag content, and publish albums guests can browse with confidence.
Introduction
You’ve got the photos—somewhere. Maybe they’re in ten different chats, a shared drive, a few camera SD cards, and that one “I’ll send it later” screenshot thread. The problem isn’t that memories are lost forever—it’s that post-event photo workflows are usually unstructured, slow, and hard to review.
This article is for you if you want post-event clarity: what to collect, when to review, and how to share photos after the event so guests feel taken care of and you don’t end up with a messy backlog.
We’ll walk through a practical, step-by-step plan you can use whether you’re planning a wedding, hosting a corporate offsite, running a festival booth, or capturing photos at a community event—plus where Picshots post-event guest photo capture and sharing fits to keep everything organized.
What should you collect after the event?
After the event, your goal is complete coverage, not perfect organization on day one. Start by capturing every source of guest photos, then funnel them into one system so you can review and share efficiently. The best workflows minimize “where is that folder?” moments.
Start with a “sources list” (you’ll thank yourself later)
Before you do anything else, create a quick list of photo sources to pull together:
- Guest uploads (phone photos sent to you or uploaded via a link)
- Official photographers (full-resolution exports)
- Your team’s photos (event staff, hosts, speakers)
- Social mentions (photos guests posted publicly during the event)
- Promo materials (screenshots of booths, logos, branded moments)
Tip: Write down where each source lives (app, folder, chat, camera). Not to organize yet—just to avoid missing a channel.
Define “what counts as a memory”
Not every image needs to be treated the same. A simple classification reduces review time:
- Hero photos: the best moments (key faces, key scenes, iconic shots)
- Group coverage: wide shots, team photos, tables, stages, workshops
- Context photos: banners, signage, venue details, activities
- Guest portraits: people photos you can link back to individuals or groups
- Extras: near-duplicates, reactions, behind-the-scenes
This structure also makes sharing easier: you can publish “Hero” first while review continues.
When should you review guest photos?
Review timing is where clarity is won or lost. Most teams do best with a two-phase workflow: a fast “triage” pass for completeness, followed by a slower “quality and organization” pass for publishing.
A realistic review timeline (works for most teams)
- Within 2–24 hours: Confirm you have all sources and that uploads are complete. Fix obvious issues (missing albums, broken links, wrong event date labels).
- Within 48–72 hours: Sort into categories (Hero, Group, Context). Flag duplicates and blurry images for later.
- Within 5–10 days: Finalize organization, prepare share links, and publish albums by group or moment.
Why this works: guests want to feel remembered soon after the event, but you also need time to curate. A fast triage pass prevents you from discovering weeks later that one source never got included.
What to check during triage (featured-snippet friendly)
Use this checklist as your triage pass:
- Are all expected sources included?
- Do photos match the correct event/date?
- Are uploads readable (not corrupted, wrong orientation, missing faces)?
- Do you have a plan for naming and sorting?
- Is there a safe sharing method (permissions, privacy, consent)?
This checklist directly supports featured snippets because it answers “what should I review” in a clear, scannable way.
How do you share photos without creating a “link jungle”?
Sharing is where most post-event workflows break. If you send photos through multiple chats and partial links, guests end up with confusion: different albums, duplicate photos, or “I can’t find mine.”
Build a single sharing hub
Your objective: one place where guests know where to go and what to expect. A simple hub approach looks like this:
- One event page or album hub per event
- Clear album titles (Hero Moments, Group Photos, Venue Highlights)
- Consistent access rules (everyone gets the same entry point, or access is controlled by email)
- Versioning (publish Hero first, then add “More Photos” after full review)
Accessibility note: Choose a sharing method that works on mobile (where most guests will view photos) and supports fast loading.
Use privacy-friendly publishing practices
Responsible sharing matters—especially for events with mixed audiences, minors, or sensitive contexts. Consider:
- Consent: If guests opted into photo sharing, align sharing settings accordingly.
- Opt-out ability: Provide a way for guests to request removal where required.
- Access control: Use restricted links for private events instead of public posts.
- Metadata: Be mindful about location/time metadata if your sharing platform strips EXIF data or supports privacy controls.
Not legal advice: If you operate in regulated industries or deal with minors frequently, consider consulting a privacy professional for the right consent and access approach.
Where does Picshots fit into the workflow?
Picshots is designed specifically for post-event clarity around guest photos—so your memories don’t scatter across devices, chats, and drives. Instead of building a custom system from scratch, you use a workflow that helps you collect, organize, and share guest photos in a way that stays complete through the whole process.
What makes the Picshots approach practical
In a typical post-event chaos scenario, you’re doing three jobs at once: collecting photos, organizing them, and sharing them. A good system reduces context switching and makes it easier to publish on time.
With Picshots post-event guest photo capture and sharing, the operational benefits usually look like this:
- Centralization: guest photos land in one place
- Organization support: sorting/tagging/grouping helps you curate faster
- Sharing readiness: you can publish albums or links in a structured way
- Completeness: fewer “we forgot a source” moments
Real-world example: After a wedding, you can publish “Ceremony Highlights” within 48 hours and later add “Reception Group Shots” after full review—without re-sorting an entire photo backlog from scratch.
Step-by-step: Your post-event photo plan (copy/paste workflow)
Here’s a full workflow you can follow for your next event. It’s designed for speed, completeness, and guest satisfaction.
Step 1: Set up capture channels (before you need them)
Even though this is a “post-event plan,” good outcomes start earlier. If you can, do these steps during or right after the event:
- Provide a single guest upload path (QR code, short link, or in-event instructions)
- Tell guests what to upload (photos of people, specific moments, activities)
- Confirm any sharing rules (private vs. public, access method)
Outcome: when the event ends, guest photos are already collecting in a structured way.
Step 2: Gather everything into one system
After the event, pull all photo sources into your organizer. If you’re using Picshots, aim to route guest uploads there first, then import your team’s official sets.
During this step:
- Tag or label by event and date
- Keep originals intact (avoid destructive edits early)
- Separate hero candidates from everything else
Outcome: you stop juggling “where are the files?” across devices.
Step 3: Triage for completeness (fast pass)
Run your checklist:
- Expected sources included?
- Uploads readable and correctly oriented?
- No missing groups (e.g., stage photos, workshop tables)?
- Duplicates exist but are not causing confusion?
Optional but powerful: Create a “needs review” list—only the images that truly require attention.
Step 4: Organize by moments and people groups
Organization isn’t about making everything perfect—it’s about making it easy to find. A useful structure is:
- By moment: Arrival, Ceremony, Main Activity, Workshop, Awards, Party
- By group: Teams, tables, speakers, volunteers, departments
- By content type: Photos, screenshots, venue details
Pro tip: If you expect guests to search “photos of me,” prioritize groupings that match how people think (“my table,” “my team,” “my session”).
Step 5: Publish in phases (reduce pressure and boost satisfaction)
Instead of waiting until everything is curated, publish in at least two phases:
- Phase A: Hero moments + the most requested group photos
- Phase B: Remaining albums and extras
This approach improves guest experience because people get something quickly, even while you continue final review.
Step 6: Share with clear instructions
When you send the share link, include simple guidance:
- What’s inside (hero, groups, venue highlights)
- How to download or view
- What to do if guests can’t find themselves (contact path or opt-in support)
Outcome: fewer “can’t find mine” messages, and guests feel confident.
Common mistakes that cause lost photos (and how to avoid them)
If you’ve ever experienced the post-event panic—files missing, guests confused, albums duplicated—these are usually the root causes.
1) Letting photos live in too many places
Problem: One source is in a chat, another in a drive, another in a camera upload. Review becomes slow and error-prone.
Fix: centralize into a single organizer and publish from that system.
2) Waiting too long before sharing
Problem: Guests expect access soon. If you publish weeks later, many will have moved on.
Fix: publish in phases. Even a small “Hero Moments” drop helps.
3) No sorting logic (everyone’s photos are mixed)
Problem: When guests can’t find their group, they assume photos are missing.
Fix: organize by moments and groups that match guest mental models.
4) Ignoring privacy/consent expectations
Problem: Public posting can violate participant expectations for private events.
Fix: use access-controlled links and provide a removal path if appropriate.
5) Treating “sharing” as the last step, not a workflow
Problem: Sharing should inform how you organize. If you don’t plan albums and link structure, you’ll scramble at the end.
Fix: decide album categories before the final publish day.Alternatives to Picshots (when you need a different approach)
Picshots is one solution for streamlined guest photo capture and sharing. Depending on your event and team workflow, alternatives may fit better—or you may combine tools.
Option A: Shared folders + manual sorting
Best for: small events with few guests and a tech-savvy team.
Tradeoff: manual sorting takes time and is easy to get wrong.
Option B: Photo-sharing platforms without guest capture workflows
Best for: you already have official photographer sets and guest capture isn’t required.
Tradeoff: you still need a plan for collecting guest uploads.
Option C: Email or chat-based delivery
Best for: quick ad-hoc updates.
Tradeoff: guests get fragmented links and duplicates, increasing support messages.
Where Picshots is usually strongest: when you want guest photos to arrive centrally and be organized for sharing without rebuilding a system each time.
How much does post-event photo organization cost?
Costs vary based on event size, photo volume, and the tools you use. Here are the common cost drivers (and why they matter for planning):
- Tool costs: pricing depends on storage, access control features, and number of events/albums.
- Time costs: review and sorting time grows quickly without organization rules.
- Operational overhead: managing multiple upload sources (drives, chats, SD cards) costs time and increases errors.
- Guest support: if guests can’t find their photos, you spend time answering the same questions.
Planning recommendation: treat the post-event photo workflow like part of event operations. Even if tool costs are higher upfront, you often save time and reduce guest confusion.
Featured snippet: The 7-line post-event photo checklist
Copy this checklist for your next event:
- Collect all photo sources (guest + official + team).
- Centralize uploads into one organizer.
- Run a fast completeness triage within 24 hours.
- Sort into Hero, Group, Context, and Extras.
- Publish in phases (Hero first, then the rest).
- Share via one hub link with clear instructions.
- Track feedback and fix missing albums or groups.
This structure is optimized for users who want a quick answer they can execute immediately.
Key Takeaways
- Clarity beats chaos: decide what to collect, then centralize photos to avoid missing sources.
- Review in two phases: triage quickly for completeness, then curate and organize before publishing.
- Organize for guest search: group photos by moments and people groups, not just file dates.
- Share in phases: publish Hero moments first to improve guest satisfaction.
- Picshots post-event guest photo capture and sharing helps keep guest photos organized so memories stay complete from capture through sharing.
- Plan for privacy: use access controls and align sharing with guest expectations.
Frequently Asked Questions
How do I collect guest photos without chasing people?
Use a single capture path (QR code or short link) so guests know exactly where to upload. Centralize the result into one organizer, then publish from that system. This avoids “I sent it” messages that are hard to track and reduces the chance you miss a source.
What’s the best timeline to review photos after an event?
Most teams benefit from a two-phase approach. Do a completeness triage within 24 hours, then organize and curate within 48–72 hours. Publish Hero moments quickly, and finalize the rest within 5–10 days for a smooth guest experience.
Should I organize photos by date or by moments?
Date sorting is helpful for your internal workflow, but moments and groups are better for guests. Organize by ceremony/party/workshop moments and by teams/tables when possible. Guests typically search by “where/with whom I was,” not by file timestamps.
How can I avoid duplicates and near-duplicates?
During triage, flag duplicates and near-duplicates as “Extras” rather than trying to perfect selection on day one. Publish the best hero and group coverage first. Then refine duplicates later so you don’t slow down guest delivery.
What if some guests don’t see themselves in the photos?
First, confirm you included all photo sources and that groups were organized clearly. Provide an easy way for guests to request help or recheck their group album. A centralized organizer makes it easier to verify whether photos exist and where they’re located.
How do I share photos while respecting privacy?
For private events, share through access-controlled links instead of public posts. Align sharing settings with guest consent, provide an opt-out/removal path when appropriate, and avoid broad distribution. If minors or sensitive contexts are involved, consider professional privacy guidance.
Can I publish photos in phases without confusing guests?
Yes—if the sharing hub is consistent. Publish “Hero Moments” first, then add “More Photos” to the same event page. Use clear album labels and communicate that additional albums are being added as review completes.
Is Picshots only for large events?
No. Picshots can help with any event size where guest photos matter and organization needs to be simple. Smaller events still benefit from centralization, clear sharing, and a workflow that prevents missing sources or late “where are the photos?” confusion.
Conclusion
Post-event photo work shouldn’t feel like scavenger hunting. With a clear plan—what to collect, when to review, and how to share—you can deliver guest photos that feel complete, timely, and easy to find.
If you want the workflow built around Picshots post-event guest photo capture and sharing, you’ll spend less time chasing files and more time delivering memories guests actually enjoy. [Internal link: related article on event photo sharing best practices] and [Internal link: checklist for event wrap-up workflow] can help you set up even smoother processes next time.
CTA: Try a guest-photo workflow with Picshots for your next event, and publish in phases so your memories stay organized from capture to sharing.
Quick answers
How do I collect guest photos without chasing people?
Use one capture path (QR code or short link) so guests know where to upload. Centralize uploads into a single organizer and publish from there. This prevents lost “I sent it” messages and reduces the chance you miss a source.
When should I review guest photos after the event?
Most teams do best with two phases: a completeness triage within 24 hours, then deeper sorting and curation within 48–72 hours. Publish hero moments quickly and finish remaining albums within about a week for a steady, low-stress workflow.
What’s the best way to organize photos for guests?
Organize by moments (ceremony, main activity, workshop, awards) and by people groups (tables, teams, speakers) rather than only by date. Guests search for “with whom/where,” so organization that matches their mental model increases satisfaction.
How do I avoid duplicates and near-duplicates?
Don’t aim for perfect deletion on day one. During triage, flag duplicates as “Extras” and prioritize hero and group coverage first. Then refine and remove duplicates during the final review phase so you still deliver quickly.
How can I share photos while respecting privacy?
For private events, use access-controlled links rather than public posts. Align sharing settings with consent, and provide an opt-out or removal path when appropriate. If your event includes minors or sensitive contexts, consider professional privacy guidance.
How do I publish photos in phases without confusing guests?
Use a consistent event hub or album page. Publish “Hero Moments” first, then add more albums to the same link. Clear labels like “More Photos Added” help guests understand that updates are coming.
What if guests can’t find themselves?
First, verify you included all photo sources and that groups were organized clearly. Then provide a simple support path (where to ask, what info to include). A centralized organizer makes it easier to locate missing photos and resolve issues faster.
Is Picshots only useful for large events?
No. Smaller events still benefit from centralized guest uploads and structured sharing. Picshots can reduce manual sorting time and prevent scattered links, making it easier to deliver complete albums even when your team is small.