
Wedding Planning
How to Organize 500+ Wedding Guest Photos: A Post-Wedding Workflow
A practical, step-by-step workflow for sorting, curating, and organizing hundreds of wedding guest photos in the days after your wedding — without the overwhelm.

The Morning After: When the Photo Flood Begins
Your wedding was magical. Now you're staring at 500+ photos from your photographer, plus another 200 from guests who texted you blurry iPhone shots and tagged you in Instagram stories. It's a lot. Take a breath — you don't need to tackle this all in one sitting.
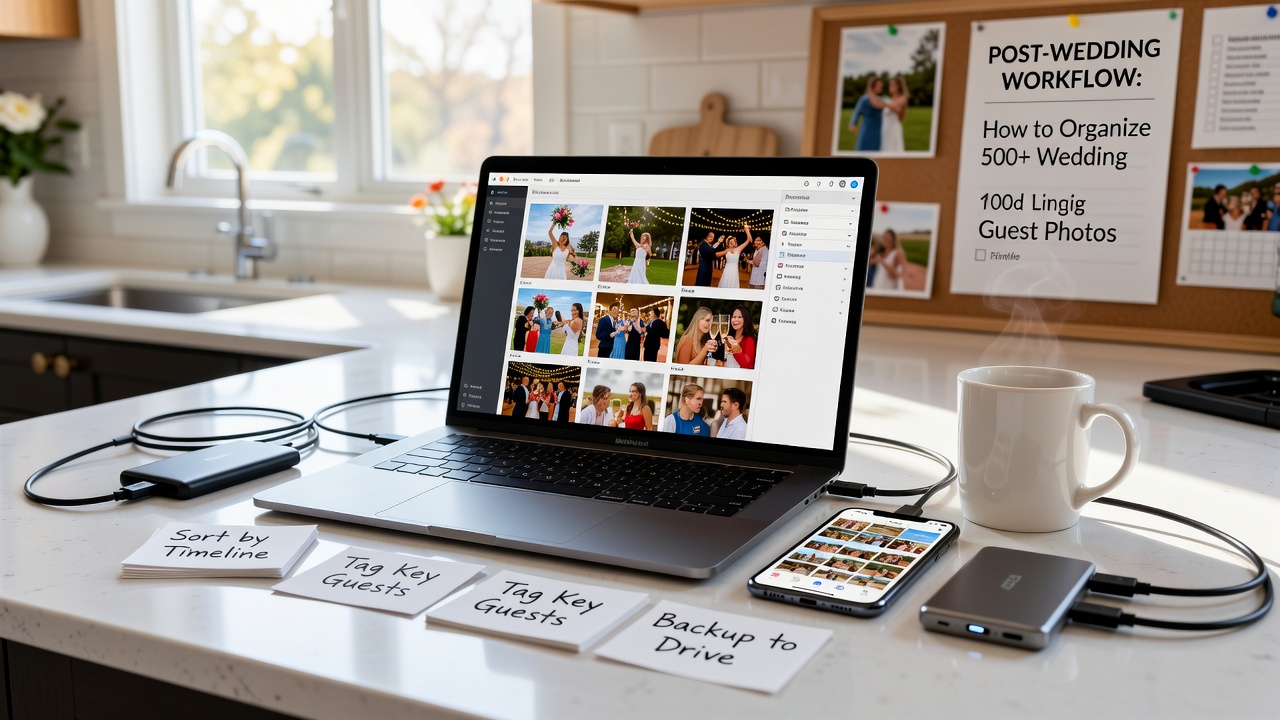
The secret to organizing a massive wedding photo collection is simple: work in stages. Spread the process across a few days so it stays manageable, not miserable.

Day 1: Gather Everything in One Place
Before you sort a single image, make sure every photo lives in one location. This is the foundation of your entire workflow.
- Create a master folder on your computer or cloud storage (Google Drive, Dropbox, iCloud). Name it something obvious like Wedding Photos — [Date].
- Download your photographer's gallery in full resolution. Don't rely on the online gallery link alone — those expire.
- Request guest photos directly. Send a group text or use a shared album (Google Photos, Apple Shared Album) where guests can upload their shots.
- Screenshot social media tags — save any Instagram or Facebook posts where friends tagged you. These often capture candid moments your photographer missed.
Once everything is in one folder, you can see the full scope of what you're working with.
Day 2: First Pass — Delete the Obvious
Don't try to curate yet. This pass is purely about removal. Be ruthless with clearly bad photos so you reduce the pile fast.
Delete immediately:
- Blurry or out-of-focus shots
- Duplicates of the same pose (keep the best one, trash the rest)
- Photos with eyes closed, awkward expressions, or half-cut faces
- Dark or overexposed images that can't be fixed
- Accidental shots — someone's finger over the lens, the floor, a blurry wrist
Pro tip: If you're hesitating, delete it. You'll never miss a mediocre photo when you have 20 great ones of the same moment.
This single step often cuts your wedding photo collection by 30–40%. Going from 700 photos to 450 feels instantly more doable.
Day 3: Sort Into Categories
Now create subfolders inside your master folder. Sorting by category lets you find specific moments later and makes it easier to share targeted sets with family.
Suggested folder structure:
- Getting Ready — hair, makeup, first look, pre-ceremony jitters
- Ceremony — processional, vows, rings, kiss, recessional
- Portraits — couple, wedding party, family groupings
- Reception — entrance, first dance, toasts, dancing, cake cutting
- Candids & Guests — unposed moments, laughter, dance floor chaos
- Details — rings, flowers, table settings, signage, food
- Golden Hour — those dreamy sunset shots
Drag and drop each photo into its category. Don't overthink it — if a photo could go in two folders, pick the better one and move on.
Day 4: Curate the Keepers
This is where you get selective. Go folder by folder and identify your hero shots — the images you'll actually print, post, and share.
Inside each category folder, create two subfolders:
- ★ Keepers — photos you love and want to use
- Archive — photos that are fine but not top-tier (keep these; don't delete)
Aim to narrow down to roughly 100–150 keeper photos from the full set. That's a realistic number for sharing, printing, and posting without endless scrolling. Think of it as your personal highlight reel.
Day 5: Tag, Rename, and Back Up
You've done the hard part. Now make your organized wedding photo collection easy to navigate and safe from loss.
Rename your keeper files with a consistent format:
- Example: Wedding_2026_Ceremony_001.jpg
- Example: Wedding_2026_FirstDance_002.jpg
Descriptive filenames make searching easy years later when you're looking for one specific shot.
Back up in triplicate:
- Local copy — your computer's hard drive
- Cloud copy — Google Drive, Dropbox, or iCloud
- Physical copy — an external hard drive or USB stick stored somewhere safe
One backup is none. Two is okay. Three means your wedding photos survive almost anything.
Sharing Your Photos with Guests
Guests will ask for photos — they always do. Set up sharing before the requests start flooding in.
- Google Photos shared album — free, easy, lets guests download individually
- Dropbox folder link — good for full-resolution downloads
- Private Instagram or Facebook album — convenient for tagging and comments
Share the link once, pin it in your group chat, and you're done. No more replying to 40 individual texts.
Common Mistakes to Avoid
- Don't edit before sorting. Editing 500 photos one by one is how people give up. Sort first, edit only your keepers.
- Don't wait too long. Tackle this within a week of the wedding while you still remember which moments matter most.
- Don't delete in front of your partner without a second opinion — what looks like a throwaway to you might be their favorite.
- Don't forget to thank your photographer. While you're organizing, pick 5–10 favorites to send them for their portfolio. They'll appreciate it more than you know.
Your Photo Collection, Sorted
Five days. That's the whole timeline. You don't need a marathon session or expensive software — just a folder structure, a willingness to delete, and a system that turns chaos into a beautifully organized wedding photo collection you'll actually enjoy revisiting.
The best part? Once this workflow is done, you can finally relax, scroll through your favorites, and relive the day without the dread of digital clutter hanging over you.
Quick answers
How long should I wait after the wedding before organizing photos?
Aim to start within 3–5 days. You'll still remember which moments matter most, and the task won't loom over you. Waiting weeks makes it feel like a chore rather than a fun revisit.
What if my photographer hasn't delivered their gallery yet?
Start with guest photos and any phone shots you already have. When the professional gallery arrives, download it into the same master folder and repeat the sorting process. Having your system set up first makes adding new photos easy.
How many wedding photos should I keep?
There's no rule, but 100–150 keeper photos is a sweet spot — enough to tell the full story of the day without endless scrolling. Keep more if you love them, but don't feel obligated to save every decent shot.
What's the best free tool for organizing wedding photos?
Your computer's built-in file manager (Finder on Mac, File Explorer on Windows) combined with Google Photos or Dropbox is enough. You don't need paid photo software unless you plan to do heavy editing.