
Wedding Photography Guidance
How to Write Guest Instructions Guests Actually Use
Great wedding guest instructions don’t sound “technical”—they feel effortless. Learn a simple structure, ready-to-use templates, and common pitfalls to ensure guests participate in seconds with Picshots.
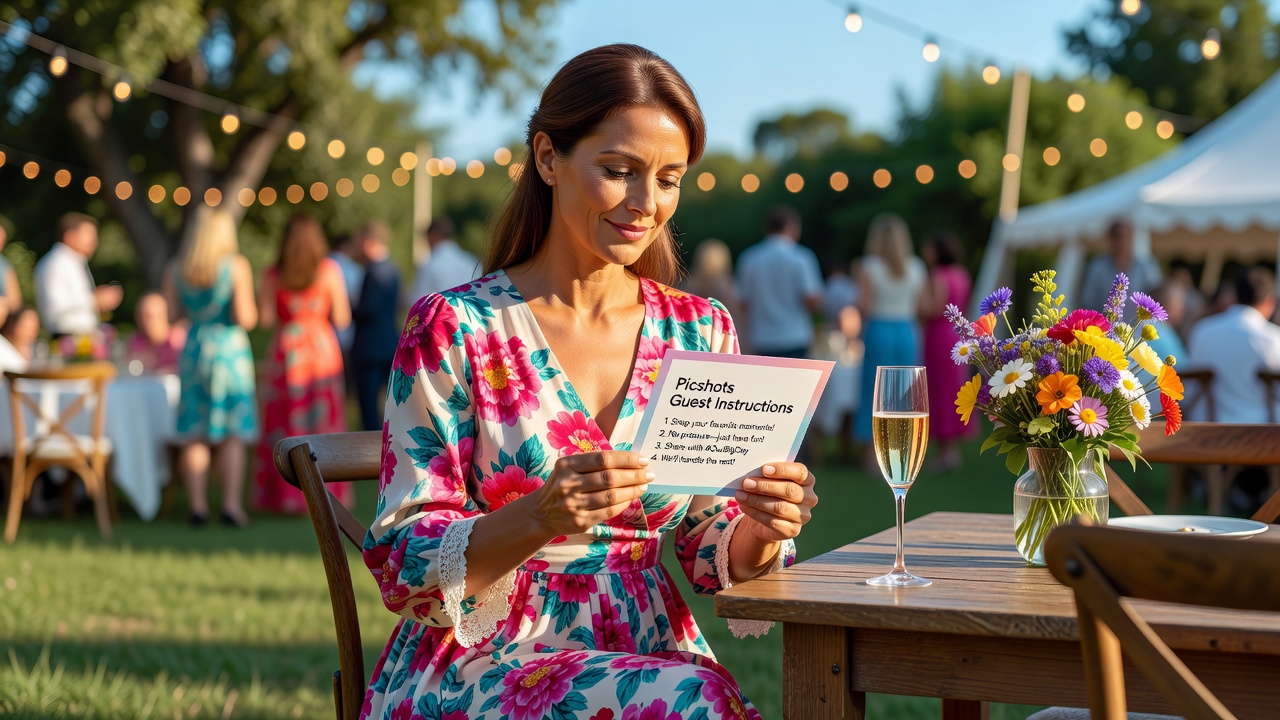
Picshots guest instructions for wedding photo capture: get more photos, fast
Quick Answer: The best guest instructions are short, friendly, and action-first. Use a simple three-part format—purpose (why), one clear action (what), and timing (when)—then remove friction with exact prompts and reassuring language. When you write for seconds (not minutes), guests participate naturally.
Introduction
Most wedding photo plans fail at the same point: the instructions. Even when guests want to help, they don’t want to “figure out a system.” They want something that makes sense in seconds, feels reassuring, and tells them exactly what to do—without technical steps or a learning curve.
This guide shows you how to write Picshots guest instructions for wedding photo capture that guests actually follow. You’ll learn the usable structure, practical templates for signs and table cards, and the wording patterns that keep participation natural and non-technical—so more moments get captured, without awkward confusion.
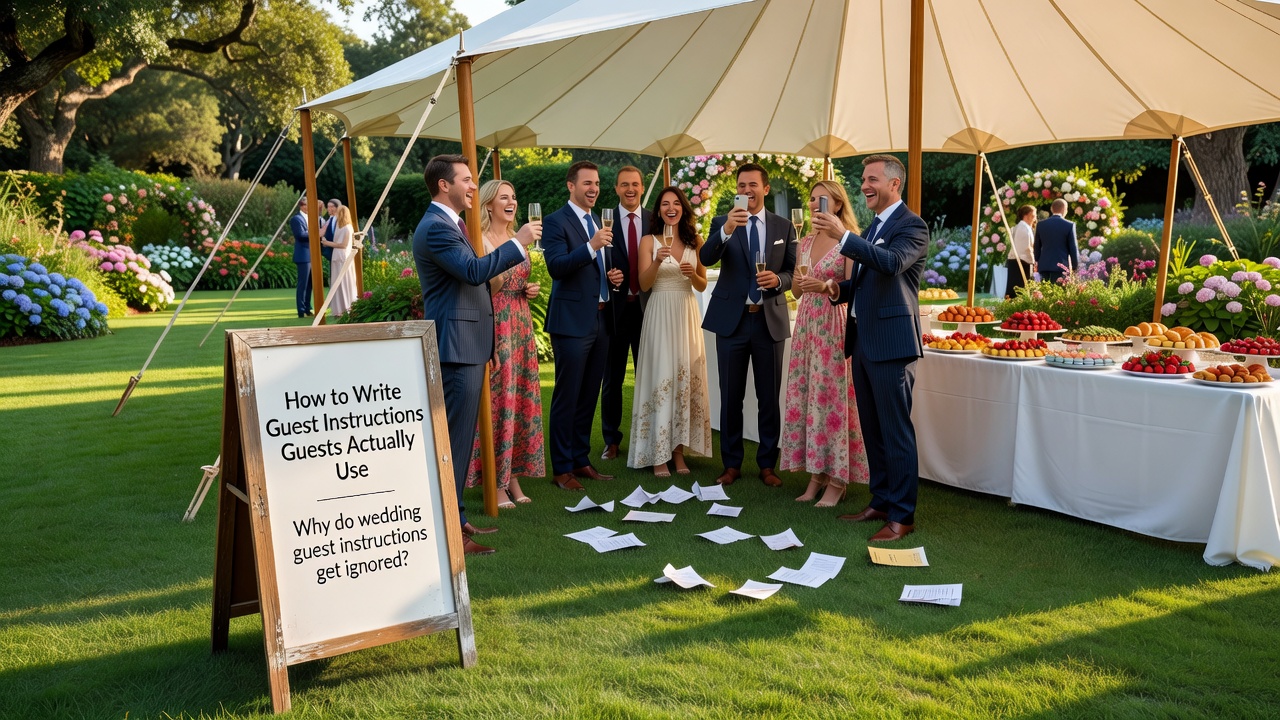
Why do wedding guest instructions get ignored?
Guest instructions usually fail for predictable reasons: they’re too long, too abstract, or they ask for multiple actions at once. If guests can’t quickly answer “What do I do right now?” they’ll skip it. Also, anxiety about doing it “wrong” (flash, timing, face privacy, kids, devices) quietly kills participation.
To fix this, design your instructions like a helpful cue—not a mini manual. Your job is to reduce decision-making and remove uncertainty.
What makes guest instructions usable in seconds?
Usable-in-seconds instructions answer three questions immediately: Why are we doing this? What exactly should I do? and When should I do it? They’re written in plain language, one action per line, and include one reassurance that guests won’t be “tested” or judged.
The “3-part” structure (purpose → action → timing)
- Purpose: one sentence that connects to feelings (“We’ll capture your favorite moments together”).
- Action: a single, concrete step (“Open the Picshots flow and capture 3 quick photos”).
- Timing: a short window (“During the welcome drinks + dancing set”).
The “one emotion” rule
Pick one dominant feeling you want guests to have: confident, excited, or supported. Then mirror that emotion in the wording. Reassuring lines like “No experience needed” and “You can skip anytime” reduce hesitation.
How to write guest instructions that actually get used (step by step)
Here’s a practical workflow you can follow for any wedding, whether you’re adding photo capture prompts to tables, placing a sign at the entrance, or including a short announcement.
- Start with a headline that tells guests they can do it immediately. Example: “Take 3 quick photos during the dancing set.”
- Use short sentences (10–12 words when possible). Guests skim. Make every line do one job.
- Write one action per line. If you need multiple steps, break them into separate prompts or separate screens/cards.
- Specify the timing window. People don’t want to guess when to act. Give start and stop cues (“After the toast” / “Before dessert”).
- Remove technical language. Avoid terms like “configuration,” “setup,” “permissions,” or “workflow.” Use plain phrases: “Open” / “Tap” / “Capture.”
- Include one reassurance that reduces fear of “doing it wrong.” For example: “No special camera skills required.”
- Pre-answer the top 3 guest concerns. Common ones: flash, face privacy, kids/accessibility. Put these as small “Quick tips” bullets.
- End with a simple fallback. If they can’t or don’t want to participate: “Even one photo helps.”
Step 1: Purpose—make it about their participation
Purpose is not marketing. It’s motivation. Guests help when they understand what they’re contributing and what it will create.
Good purpose examples:
- “Help us collect real guest moments—what you saw and felt.”
- “Your perspective makes the album feel alive.”
Avoid: long explanations about the system, scanning instructions, or “how it works.”
Step 2: Action—tell guests exactly what to do
Action should be the clearest line in your instructions. If guests can’t repeat the action after reading it once, rewrite.
Action line patterns that work:
- “Open the Picshots flow and capture 3 quick photos.”
- “Tap to start, then photograph one moment you love.”
- “Capture during the prompt, then you’re done.”
Step 3: Timing—give a start trigger and a stop trigger
Timing turns “maybe later” into “right now.” Use wedding-friendly cues: cocktail hour, first toast, cake cutting, first dance, speeches, or the parent/relative portrait moment.
Timing examples:
- “During welcome drinks: 6:30–7:15 PM.”
- “After the first dance cue, when the music starts.”
- “Before dessert—just follow the sign.”
Step 4: Make participation feel natural (non-technical by design)
Guests don’t want to “manage settings.” They want to participate the way they already take photos—instantly.
When you write Picshots guest instructions for wedding photo capture, keep the tone consistent with a friendly host, not an app onboarding screen:
- Say “Open and capture” instead of “Launch the workflow.”
- Say “No special skills needed” instead of “Technical compatibility supported.”
- Say “You can skip anytime” instead of “Participation is optional.”
Step 5: Add a tiny “Quick Tips” section
Short tips reduce hesitation and prevent confusion mid-event. Keep it to 3–5 bullets and make each bullet actionable.
Examples:
- “If you’re unsure, capture what’s happening around you—no perfect framing required.”
- “Please be mindful with flash; natural light is welcome.”
- “Kids can join—one photo is enough.”
- “You don’t need to bring anything extra.”
Example templates you can copy for Picshots
Below are ready-to-use instruction examples. Replace brackets with your wedding specifics. These are designed to be easy to scan, reassuring to read, and practical for guests to follow in seconds.
Template A: Entrance sign (30-second read)
Headline: Take guest photos during the moments you love
One-line purpose: Help us collect real guest perspectives for the album.
Action: Open the Picshots flow and capture 3 quick photos during the prompt.
Timing: Start during welcome drinks and keep going through the first dance.
Quick tips:
- No special camera skills needed.
- Natural moments are perfect—candids are encouraged.
- If you miss it, that’s okay—one photo still helps.
Template B: Table card (designed for skimming)
Headline: Your phone = one great moment
Purpose + action: Open Picshots and capture what you notice—laughter, hugs, small details.
When: After the toast (then anytime you feel inspired).
Reassurance: No setup. No technical steps. Just take photos.
Template C: Emcee script (friendly, non-technical)
“Quick reminder for anyone who wants to help with the photo album—during welcome drinks and the dance set, we’re inviting guests to capture a few favorite moments. No special setup, just open Picshots when you’re ready and take a couple of photos you love. Even one helps!”
Template D: “Prompt cards” (for multiple moments)
Card title: Photo prompt: Toast + cheers
Action: Open Picshots and capture one photo of the moment you’d frame.
Timing: From the first toast until everyone cheers.
Reassurance: If you’re holding a drink, it’s okay—one photo is enough.
Common mistakes to avoid (and what to do instead)
- Mistake: Writing a paragraph instead of a cue.
Fix: Use 3–5 lines max, with one action line and one timing line. - Mistake: Including multiple steps in one sentence.
Fix: Break into separate cards or separate prompts (purpose, action, timing). - Mistake: Using technical terms (permissions, setup, workflow).
Fix: Use phone-friendly language: open, tap, capture. - Mistake: No reassurance for hesitant guests.
Fix: Add one line like “No experience needed” or “Skip anytime.” - Mistake: Vague timing (“throughout the night”).
Fix: Tie to specific moments guests recognize. - Mistake: Ignoring privacy and comfort.
Fix: Include a gentle reminder: “Be mindful with faces and personal moments.”
How Picshots helps you keep instructions non-technical
Guests are more likely to participate when the process feels like a natural continuation of what they already do—take photos with their phone, instantly and confidently. That’s exactly where well-written Picshots guest instructions for wedding photo capture matter: they connect guests to the flow without turning your event into an onboarding exercise.
Practical design principle: your instructions should work even if guests glance once while walking past.
Instead of: “Please navigate to a complex capture workflow…”
Use: “Open Picshots and capture what you love.”
Why it works: it reduces cognitive load and removes the feeling of “instructions overhead.” Guests don’t need to understand the mechanics—they just need to know what to capture and when.
Internal link opportunity: [Internal link: How to design a wedding photo timeline that improves participation]
How do you know if the instructions are working?
After (or during) the wedding, you want fast signals. Look for clarity indicators rather than perfect outcomes. A simple approach:
- Participation cue: Did guests ask fewer questions?
- Behavior cue: Were photos captured during the intended moments?
- Comfort cue: Did guests seem relaxed rather than pressured?
- Feedback cue: Did anyone mention confusion about timing or what to do?
If you hear the same confusion twice, rewrite that specific instruction line. Over time, you’ll build a version that reads well in seconds.
FAQ-style testing idea: Ask a friend to read your instruction sign for 10 seconds, then tell you what action they think they should take. If they can’t repeat it, it’s not clear enough.
What’s the effort and “cost” of writing great instructions?
There are no universal dollars here—only time and clarity effort. In practice, writing guest instructions is mostly a drafting and editing process.
- Effort: plan for 30–90 minutes the first time, then 10–20 minutes to adjust once you learn what guests found unclear.
- Print/copy “cost”: mainly sign/table card design and wording (simple formatting helps readability).
- Quality lever: the more you shorten and clarify, the less you need extra signage.
Helpful external reference: [External link: Nielsen Norman Group usability heuristics for clear user instructions]
Alternatives to instructions-first (when you need a backup)
Sometimes guests still miss signage or arrive late. Consider a layered approach:
- Layer 1: entrance sign with the headline + timing window.
- Layer 2: table cards that guests can read slowly.
- Layer 3: a short emcee reminder that repeats the action in plain language.
This “repetition without noise” improves comprehension without overwhelming guests.
Key Takeaways
- Write Picshots guest instructions for wedding photo capture using a simple format: purpose → action → timing.
- Keep instructions short enough to understand in seconds: one action per line, plain wording, minimal sentences.
- Make participation feel natural and non-technical with reassuring language: “No skills needed” and “Skip anytime.”
- Add a tiny “Quick Tips” section to address top concerns (flash, privacy, kids, what to capture).
- Layer your instructions (sign + table card + short announcement) so guests don’t rely on one place to find them.
Frequently Asked Questions
What should wedding guest instructions say, exactly?
They should quickly answer three questions: why participation matters, what the guest should do (one clear action), and when they should do it (a specific timing window). Keep the tone reassuring and non-technical—guests should feel confident, not tested.
How long should guest instructions be for best results?
Aim for a quick scan: a headline plus 3–6 short lines. If guests need more than a few seconds to understand the action and timing, you’ll lose participation. Use bullets for tips and remove any explanation of “how the system works.”
How can we make instructions feel “non-technical”?
Use phone-friendly words: open, tap, capture, and done. Avoid jargon like permissions, configuration, or workflow steps. Add one reassurance line (“No experience needed”) and keep the process described as a friendly suggestion, not an assignment.
What if guests ask questions during the event?
Have a one-sentence answer ready that repeats purpose, action, and timing. For example: “Open Picshots during the prompt and capture a couple of moments you love—one photo is enough.” If multiple guests ask the same question, revise the sign for clarity.
Should we include privacy or flash guidance?
Yes—briefly. A simple “Be mindful with faces” and “Natural moments welcome” helps reduce discomfort without creating fear. Keep it supportive, not restrictive, and avoid overly long policies on the sign.
Do we need a complex checklist for guests?
No. Complex checklists reduce participation because guests have to remember too much. Prefer single prompts (“Capture one moment during the toast”) and short follow-ups (“If you’re unsure, just photograph what’s happening around you”).
Can guests participate if they arrive late?
Absolutely. Include an alternate timing cue (“If you miss the first prompt, start during the first dance”) or a second prompt card placed at tables. Also reassure guests that even one photo helps, so latecomers still feel included.
How should instructions be formatted for accessibility?
Use large, readable text, high contrast, and short lines. Put the action and timing in the most prominent place. For additional help, provide a simple phone-friendly option such as a clear QR prompt or a short emcee repeat.
Conclusion
Guest instructions shouldn’t feel like a hurdle—they should feel like a warm invitation. When you use a short, reassuring structure for Picshots guest instructions for wedding photo capture, guests can follow along in seconds and participate naturally, without technical stress.
CTA: If you’re preparing your wedding photo capture plan, draft your sign and table card using the templates above—then adjust one line based on what guests find confusing. For your next step, consider setting up your Picshots flow and aligning your prompts with your key moments so participation stays smooth from start to finish.
Quick answers
What should wedding guest instructions say, exactly?
They should quickly answer three questions: why participation matters, what the guest should do (one clear action), and when they should do it (a specific timing window). Keep the tone reassuring and non-technical—guests should feel confident, not tested.
How long should guest instructions be for best results?
Aim for a quick scan: a headline plus 3–6 short lines. If guests need more than a few seconds to understand the action and timing, participation drops. Use bullets for tips and remove any explanation of how the system works.
How can we make instructions feel “non-technical”?
Use phone-friendly words like open, tap, capture, and done. Avoid jargon such as permissions, configuration, or workflow steps. Add one reassurance line (“No experience needed”) and keep the process framed as a friendly invitation.
What if guests ask questions during the event?
Have a one-sentence reply ready that repeats purpose, action, and timing. If multiple people ask the same thing, update the sign language after the event or before the next prompt card so future guests can understand it on the first glance.
Should we include privacy or flash guidance?
Yes, but briefly. A simple reminder to be mindful with faces and to welcome natural moments reduces discomfort without adding friction. Keep it supportive, not restrictive, and avoid long policies that overwhelm skimmers.
Do we need a complex checklist for guests?
No. Checklists reduce participation because guests must remember too much. Use single prompts (“Capture one moment during the toast”) and reassurance (“If unsure, photograph what’s happening around you”).
Can guests participate if they arrive late?
Yes. Provide an alternate timing cue (a second prompt during a recognizable moment) and reassure guests that even one photo helps. Latecomers should feel welcome, not like they missed their chance to contribute.
How should instructions be formatted for accessibility?
Use large, readable text with strong contrast. Keep lines short and place the action and timing where the eye lands first. If you use QR codes, ensure the main message is still readable without scanning.