
Event Technology
How to Use a QR Code for Corporate Event Photos: Professional Setup Guide
A complete professional guide for corporate event planners on setting up branded QR code photo sharing systems for conferences, galas, and team events — from platform selection to strategic placement and analytics.
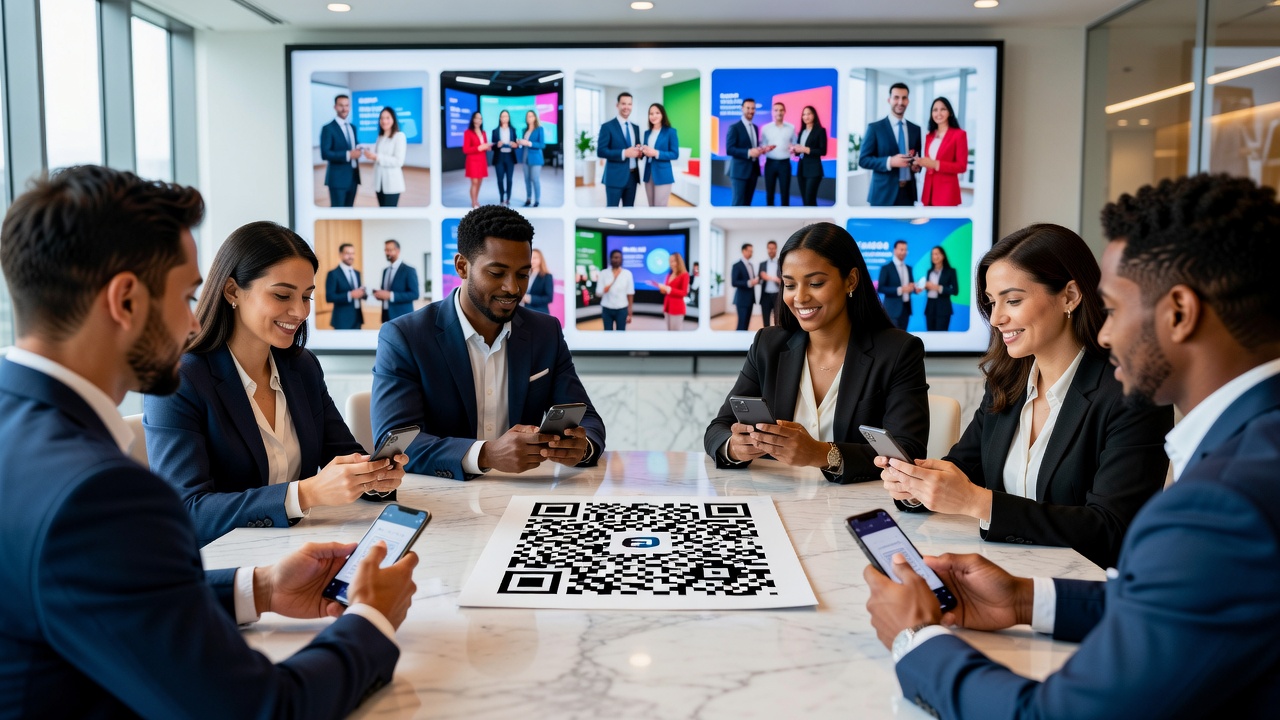
Corporate events are prime opportunities for brand storytelling, networking, and community building. Yet many event planners still rely on scattered photo-sharing methods — email threads, USB drives, or third-party apps with inconsistent branding. A well-designed event QR code system changes that entirely. By placing a scannable code at strategic touchpoints, attendees can instantly access a branded photo gallery, upload their own shots, and share the experience with their networks. This guide walks you through everything you need to set up a polished, professional QR code photo-sharing system for conferences, galas, and corporate team events.
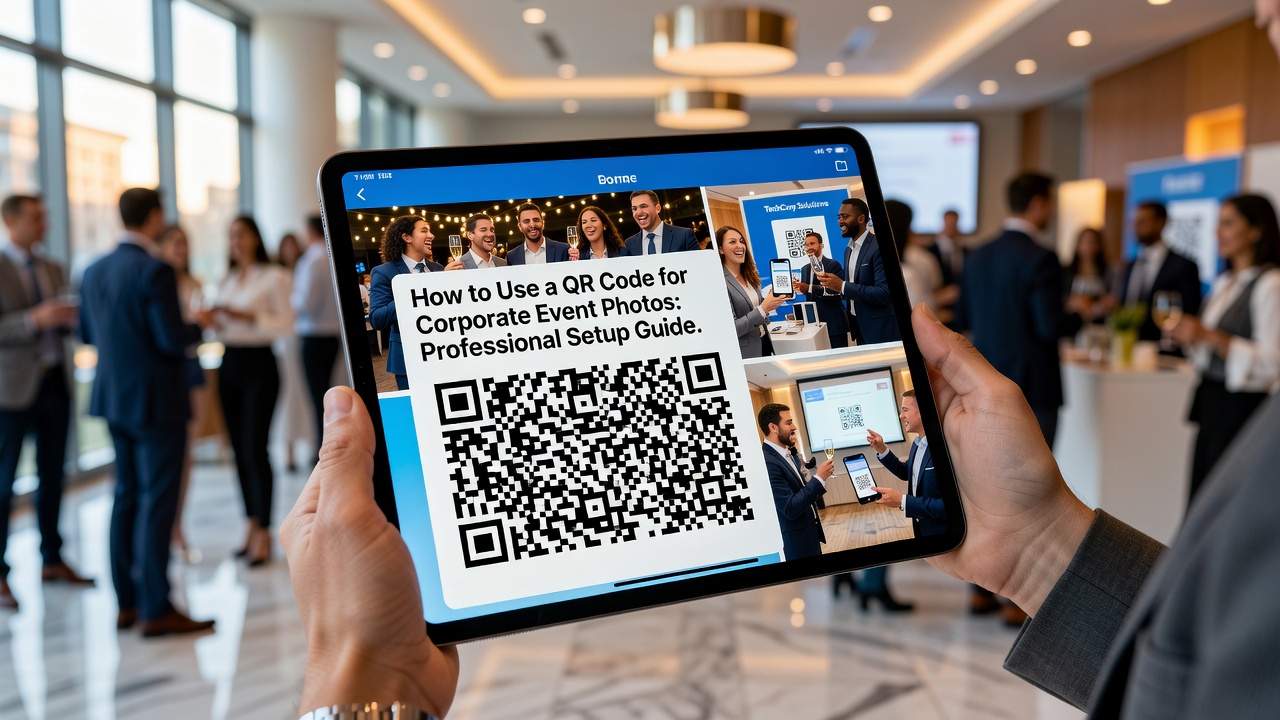
Why QR Codes Are the Professional Standard for Event Photo Sharing
QR codes have evolved from clunky marketing gimmicks into essential event infrastructure. At conferences with hundreds or thousands of attendees, speed matters. A QR code scan takes seconds — no app downloads, no login screens, no friction. Attendees point their phone camera, tap the notification, and they are immediately where they need to be.
For corporate event planners, this translates into three concrete advantages:
- Frictionless access: No accounts, no passwords, no training required
- Brand control: Every scan lands on a page you design — your colors, your logo, your messaging
- Measurable engagement: Track scan counts, upload rates, and gallery views to prove ROI
When every scan reinforces your brand identity, the event QR code becomes more than a convenience. It becomes an extension of your event design.
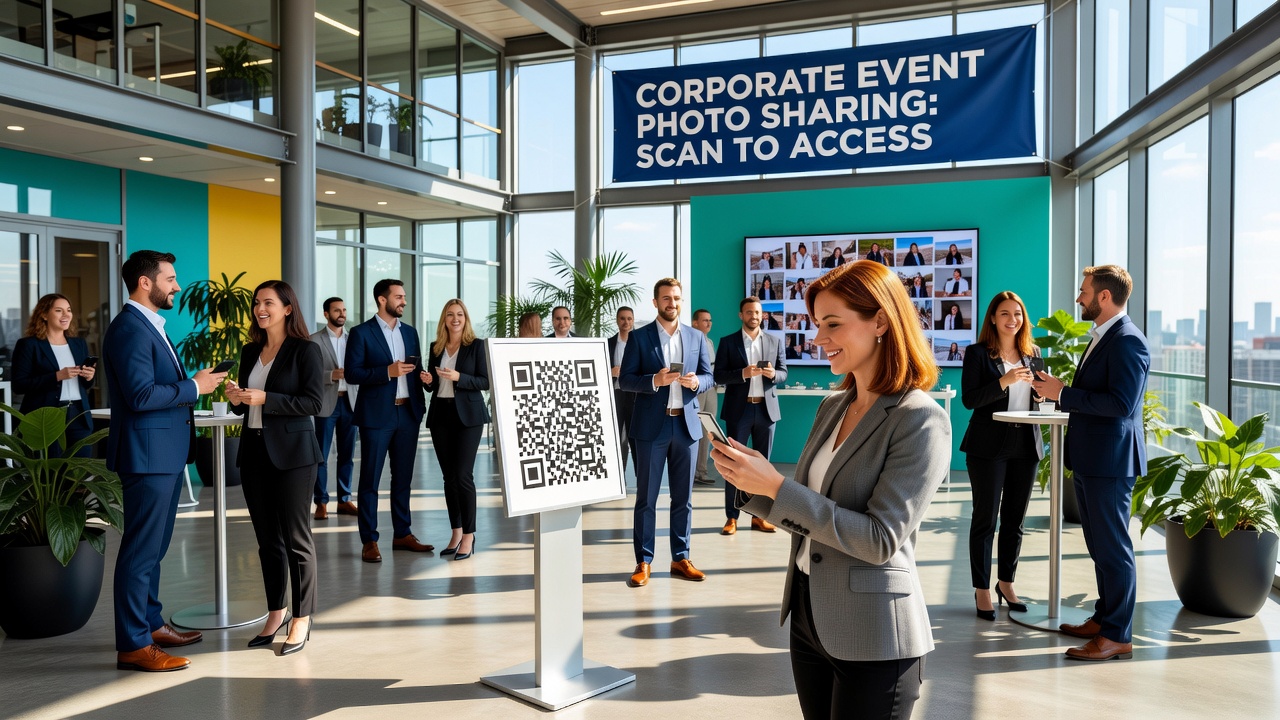
Use Cases: Where QR Code Photo Sharing Shines
Conferences and Trade Shows
Large-scale conferences generate massive photo volumes — keynote sessions, expo floors, breakout rooms, networking receptions. A QR code placed on lanyards, session signage, or sponsor booths directs attendees to a central photo hub. Speakers can share slides alongside event photography. Sponsors get co-branded gallery pages. Post-event, the same QR code can redirect to a curated highlights album.
Galas and Award Ceremonies
Galas demand elegance. A cluttered photo-sharing process undermines the tone. QR codes solve this beautifully: printed on table cards, programs, or displayed on digital screens, they blend into the event aesthetic. Guests scan, view professional shots in real time, and download their favorites — all within a branded environment that matches the gala's visual identity.
Corporate Team Events and Offsites
Whether it is a retreat, a product launch celebration, or a holiday party, team events thrive on shared memories. A QR code photo wall lets employees upload candid shots instantly, creating a living album that grows throughout the event. Leadership can curate the best submissions for a closing recap presentation — no manual collection needed.
Step-by-Step: Setting Up Branded QR Code Photo Sharing
Step 1: Choose Your Photo Platform
Select a platform that supports branded photo galleries and QR code generation. Look for these features:
- Custom branding (logos, colors, fonts)
- Guest upload capabilities with moderation
- High-resolution downloads
- Analytics dashboard
- Custom domain or subdomain support
Popular options include dedicated event photo platforms like Picshots, specialized QR photo tools, or custom-built galleries using cloud storage with a frontend wrapper. The key is choosing a platform that lets you control the visual presentation end to end.
Step 2: Design Your Branded Gallery Page
This is where professionalism matters most. Your gallery page is what attendees see after scanning — it should look like an extension of your event, not a generic template.
- Apply your event color palette consistently
- Place your logo prominently at the top
- Use clean typography that matches your event materials
- Include a clear headline: "Welcome to [Event Name] Photo Gallery"
- Add upload instructions if guest contributions are enabled
Keep the layout minimal. A grid of thumbnails with a simple upload button outperforms a feature-heavy interface that takes time to navigate.
Step 3: Generate Your Event QR Code
Once your gallery URL is ready, generate the QR code. Best practices for professional events:
- Use a high-resolution QR code (minimum 300 DPI for print materials)
- Test the code on both iOS and Android devices before the event
- Add a short call-to-action beneath the code: "Scan to view & share photos"
- Choose a QR code style that complements your branding — rounded corners, brand-colored foreground, or a centered logo overlay
Avoid free QR generators that embed ads or redirect through third-party domains. Use a dedicated QR management platform or your photo platform's built-in generator for full control over the destination URL.
Step 4: Place QR Codes Strategically
Placement determines engagement. These locations consistently deliver high scan rates at corporate events:
- Registration and check-in desks: First touchpoint, maximum visibility
- Lanyard badges: Attendees carry the code with them all day
- Stage and keynote backdrops: Visible in every speaker photo
- Table centerpieces at galas: Elegant card holders with QR cards
- Photo booth stations: Natural moment to share what was just captured
- Exit areas: Last chance to scan before leaving
For multi-day conferences, refresh the QR destination daily to point to that day's photo collection. This gives returning attendees a reason to scan again.
Step 5: Enable Guest Uploads with Moderation
Photo sharing works best when it is bidirectional. Let attendees contribute their own shots alongside the professional photographer's work. Set up a moderation workflow:
- All uploads go to a pending queue, not the live gallery
- A designated team member reviews and approves submissions
- Clear guidelines posted on the upload page (no inappropriate content, respect privacy)
- Auto-filters for file size and format to prevent technical issues
This creates a community-driven photo album while maintaining brand standards.
Step 6: Track and Optimize with Analytics
After the event, your QR platform's analytics tell the real story. Track these metrics:
- Total scans and unique scanners
- Upload rate (percentage of attendees who contributed photos)
- Gallery views and average time on page
- Download counts for individual photos
- Peak scan times (helps optimize placement for future events)
Report these metrics alongside other event KPIs to demonstrate the photo system's ROI to stakeholders.
Design Tips for a Polished, Professional Look
The difference between an amateur QR setup and a professional one is in the details:
- Match fonts across all materials: Use the same typeface on QR cards, signage, and the digital gallery
- Use brand colors for the QR code itself: Many generators support custom foreground colors while maintaining scannability
- Invest in quality print materials: Thick card stock for table cards, vinyl banners for large signage
- Create a visual hierarchy: QR code should be the largest element on its display surface, with the CTA second
- White space matters: Surround the code with at least a 2cm margin to ensure reliable scanning
A cohesive visual system across physical signage and digital galleries signals attention to detail — exactly what corporate clients expect.
Common Mistakes to Avoid
Even well-planned QR setups can fail at execution. Watch for these pitfalls:
- Low-resolution QR codes that do not scan reliably on older phones
- Placing codes in poor lighting areas where camera autofocus struggles
- Forgetting to test the destination URL on mobile networks, not just venue Wi-Fi
- No fallback for attendees with older devices — provide a short URL as an alternative
- Overcrowding the QR display with too much text or competing graphics
Test everything on-site before doors open. A QR code that does not scan is worse than no QR code at all.
Conclusion
A well-executed event QR code system transforms photo sharing from an afterthought into a branded experience. For corporate event planners, it offers the rare combination of improved attendee experience, stronger brand presence, and measurable engagement data. By choosing the right platform, designing a cohesive gallery, placing codes strategically, and enabling guest participation, you create a photo ecosystem that extends your event's reach far beyond the venue walls. The setup is straightforward, the tools are accessible, and the professional impact is immediate. Your next corporate event deserves a photo strategy as polished as the event itself.
Quick answers
Do attendees need to download an app to scan the event QR code?
No. Modern smartphones (iOS 11+ and most Android devices) have built-in QR scanning in the native camera app. Attendees simply open their camera, point it at the code, and tap the on-screen notification to access the photo gallery.
Can I use the same QR code for multiple events?
Yes, if you use a dynamic QR code. Dynamic codes allow you to change the destination URL without reprinting the code itself. However, for branding consistency, we recommend generating a unique QR code per event with event-specific styling and gallery content.
How much does it cost to set up QR code photo sharing for a corporate event?
Costs vary depending on the platform and scale. Dedicated event photo platforms typically charge per event or per month, ranging from $50 to $500+ for enterprise features. QR code generation itself is often included in the platform or available for a small fee through QR management tools.
What happens to the photo gallery after the event ends?
Most platforms allow you to keep the gallery live indefinitely or for a defined period. You can also export all photos, redirect the QR code to a highlights album, or archive the gallery. Plan your post-event strategy before the event begins to ensure a smooth transition.