
Wedding Planning
How to Create a Wedding Photo Sharing Timeline: Before, During, and After
From guest photo collection to album making, build a wedding photo sharing timeline across three phases with the right app, setup, and day-of workflow.

A wedding photo sharing app can be the difference between a wedding you remember through a few files and a wedding you relive through hundreds of crowd-sourced moments. Between your photographer's coverage, the candids your friends snap at the cocktail hour, and the shots your family takes on their phones, the day generates more images than any one person will ever see. The challenge isn't talent or luck — it's organization. That's where a clear timeline comes in.
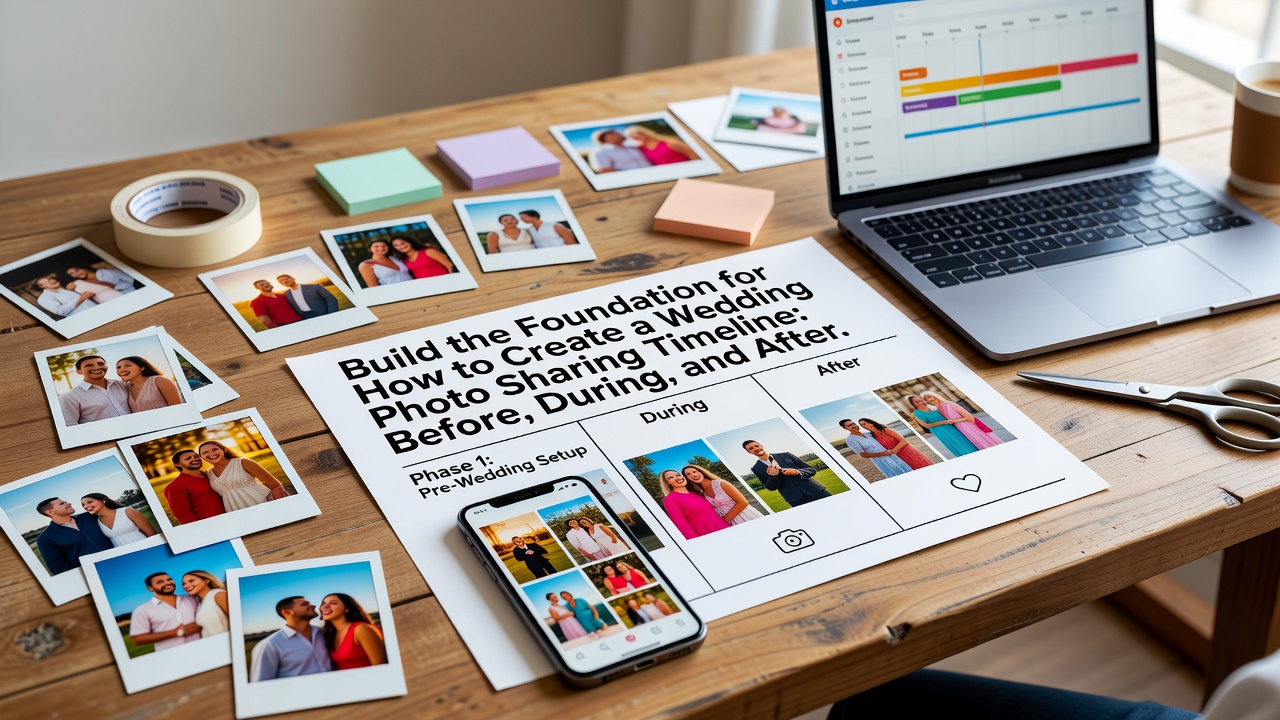
In this guide, we'll walk through a wedding photo sharing timeline built around three phases: pre-wedding setup, day-of execution, and post-wedding follow-up and organization. Each phase has a specific job, and together they ensure every guest photo gets collected, organized, and preserved — without you babysitting a spreadsheet on your own wedding day.
Phase 1: Pre-Wedding Setup — Build the Foundation
The work that makes or breaks your wedding photo sharing system happens weeks before the ceremony, not the morning of. This is when you choose the right tool, invite the right people, and set the expectations that let everyone contribute naturally.
Choose Your Wedding Photo Sharing App
Your wedding photo sharing app is the central hub for everything that follows, so pick one that matches how your guests actually use their phones. Google Photos is the most familiar option — most guests already have it installed, and you can create a shared album that everyone contributes to with a single link. Dropbox offers generous storage and a straightforward request-folder approach, which is great if your crowd skews toward older relatives who prefer an upload link over another app. Purpose-built platforms like WedMeGood, Zola, and The Knot bake photo sharing directly into your wedding website, so guests don't need to download anything extra. There are also dedicated guest-photo services such as Together and similar QR-code apps that print a scannable code on your place cards, letting guests tap and upload in seconds.
Whatever you choose, apply these three yardsticks. First, ease of access: if uploading takes more than ten seconds, guests will skip it. Second, storage and resolution: confirm the app keeps original-quality images rather than compressing them. Third, privacy controls: you want to control who can view and download, and you want the option to make albums private until you're ready to share. Test the app yourself with a few friends before committing — a dry run of the upload flow on a variety of phones will reveal problems before your wedding day does.
Set Up Your Guest List and Sharing Rules
Once your wedding photo sharing app is selected, build your guest list inside it. Create clear, easy-to-recognize folder or album names such as "Ceremony," "Portraits," and "Reception" so photos land in the right place from the start. Then set your sharing rules and etiquette before guests arrive. Decide in advance whether you want an open album everyone can edit or a moderated space where you approve uploads. Let guests know the ground rules simply: share candid moments, avoid posting unflattering shots of the couple during the ceremony, and hold the most intimate photos until you've announced them. Write a short etiquette note on your wedding website and repeat the key points in the app's description.
Coordinate Before the Event
Finally, coordinate your pre-event logistics. Print a small card with your photo-sharing link and QR code to place on each table, and hand one to your wedding planner or day-of coordinator so they can help guests who struggle with the tech. Assign a tech-savvy friend or member of the bridal party as your "photo captain" — someone who can answer upload questions and keep the feed moving without bothering you. If children are attending, consider a kid-friendly camera station and set expectations with parents so the adults' shared album stays curated. Sending a friendly reminder to close family and wedding-party members a few days out — with the link, the code, and your three favorite shot requests — dramatically increases participation.

Phase 2: Day-of Execution — Capture in Real Time
Your wedding day moves fast, and your photo collection should move with it. The day-of phase is all about making it effortless for guests to contribute in real time so the memories arrive while they're fresh — not buried on a phone for weeks.
Real-Time Photo Capture Workflows
Set up clear capture moments throughout the day so guests know when and where to shoot and share. During getting-ready and the ceremony, ask guests to hold phones during key vows and instead capture reactions, venue details, and candid exchanges. Open the shared album formally at the cocktail hour — this is the sweet spot, when guests are relaxed, well-lit, and eager to contribute. Place your printed QR codes on every table by the reception, and announce the sharing link from the DJ or emcee a few times, especially before the first dance and during toasts. Staggering these prompts keeps the upload stream steady instead of a frantic rush all at once.
Guest Contribution Strategies
Real-time collection works best when you give guests a reason to participate and a clear framework for doing it. Create a simple, repeatable prompt: a wedding hashtag to accompany each upload, a "three photos please" request that feels achievable rather than demanding, and a designated "portrait wall" or photo-booth area where guests naturally line up to create shareable content. Ask your photo captain to circulate, gently encouraging guests who haven't uploaded and celebrating ones who have. For older guests who prefer not to download an app, provide a contact-sheet or a dedicated helper — a cousin or friend who uploads on their behalf. Remember, the goal on the day itself isn't perfection; it's momentum. Even ten photos from thirty guests creates a rich, authentic record no single photographer could capture.
Using the App During the Event
Lean on the features your wedding photo sharing app offers during the event to keep things running smoothly. Live album views let you and your photo captain see uploads in real time so you can spot and fix problems early — reshare a broken link, approve held photos, or gently moderate anything inappropriate. Use the app's notifications or in-app chat to keep your coordinator and captain in the loop without being on your phone. If you have a photo-booth or instant-print station, route those images into the same album so everything lives in one place. Above all, assign someone to watch the feed on your behalf; you should be celebrating, not curating, on your wedding day.
Phase 3: Post-Wedding Follow-Up and Organization
The day is over, but the work now shifts from capture to care. The post-wedding phase turns the flood of guest uploads and professional photos into an organized, shareable, lasting archive — and it's where many couples drop the ball and lose photos forever.
Organize and Consolidate Your Collection
Within the first week after the wedding, download every guest photo from your wedding photo sharing app at full resolution and consolidate them with your photographer's gallery. Create a master folder structure: ceremony, portraits, family formals, reception, details, and candids. Remove duplicates and blurry shots, then back everything up in at least two places — cloud storage for convenience and an external hard drive for safety. This consolidation window matters because the longer you wait, the more likely someone's phone is lost, backed up to a dead account, or simply deleted to make space.
Compile Your Albums
Once everything is gathered, build your albums with intent. Sort the best guest candids into a "Guests' View" album that complements — rather than repeats — your professional coverage. Consider a highlight reel or a printed album from a service like Zola or a dedicated photo-book platform, mixing your pro shots with the most heartfelt guest images. Use the wedding hashtag to pull together social media posts if guests tagged them elsewhere, and decide which images you want to make public versus keep private. This is also the moment to curate the "official" version of your day for your website, your invitations to a larger celebration, or your honeymoon album.
Thank-You Photo Distribution
Sharing photos back with the people who took them is the courteous final step — and it encourages future participation in your family's photo-sharing culture. Within a month, send a thank-you message that includes the full album link to every guest who contributed, and single out the biggest contributors with a personal note. If you printed a guest book or used a photo-sharing station, compile those instant prints and send digital copies to the families who appear in them. Distribute professional highlight images to your wedding party and immediate family, and gracefully close the album to new additions once distribution is complete so the final collection stays clean and intentional.
Archive for the Long Haul
Finally, make your wedding memory preservation permanent. Rename key files with dates and people so they're searchable decades from now, add the location and year to folder names, and mirror your archive across two independent backups. Write a short caption file with the story behind the day — the venue, the date, the people who meant the most — so future generations understand what they're looking at. Export your guest album, professional gallery, and any social-media roundup into a single, named master folder, and test your backup once a year. A little archival care now means your grandchildren will be able to scroll through your wedding as vividly as you lived it.
Practical Steps You Can Take This Week
- Pick your platform: Choose a wedding photo sharing app that balances guest ease, original-quality storage, and privacy control, then test it with a few friends.
- Build and invite: Create your guest list and album structure, set your sharing rules, and add your wedding hashtag before invitations go out.
- Print and assign: Prepare QR cards, name your photo captain, and brief your coordinator on the day-of workflow.
- Capture intentionally: Open the album at cocktail hour, stagger sharing prompts, and let someone else watch the live feed.
- Consolidate fast: Download everything within a week, back up in two places, and build your albums with both pro and guest images.
- Share and archive: Thank every contributor with the album link, distribute highlights to family, and mirror a permanent, searchable archive.
Frequently Asked Questions
What is the best wedding photo sharing app?
The best wedding photo sharing app depends on your guests. Google Photos and Dropbox work well because most people already have them; purpose-built options like Zola, The Knot, and WedMeGood integrate directly with your wedding website. Choose one that balances guest ease, full-resolution storage, and strong privacy controls.
How do I collect guest photos at my wedding?
Put a printed QR code and share link on every table, open the shared album at cocktail hour, announce it from the DJ, and assign a photo captain to help guests who struggle. This combination makes real-time collection feel natural instead of like homework.
When should I start setting up my wedding photo sharing?
Start your pre-wedding setup at least four to six weeks before the event. That gives you time to choose and test your app, build your guest list, print materials, and coordinate your photo captain and coordinator so everything is ready well in advance.
Quick answers
What is the best wedding photo sharing app?
The best wedding photo sharing app depends on your guests. Google Photos and Dropbox work well because most people already have them; purpose-built options like Zola, The Knot, and WedMeGood integrate directly with your wedding website. Choose one that balances guest ease, full-resolution storage, and strong privacy controls.
How do I collect guest photos at my wedding?
Put a printed QR code and share link on every table, open the shared album at cocktail hour, announce it from the DJ, and assign a photo captain to help guests who struggle. This combination makes real-time collection feel natural instead of like homework.
When should I start setting up my wedding photo sharing?
Start your pre-wedding setup at least four to six weeks before the event. That gives you time to choose and test your app, build your guest list, print materials, and coordinate your photo captain and coordinator so everything is ready well in advance.