
Event QR Codes
How to Use an Event QR Code for Birthday Party Photos: A Step-by-Step Guide
Learn to use an event QR code for birthday party photos — setup steps, display ideas, and age-group tips for kids, teens, and adults. No app needed.
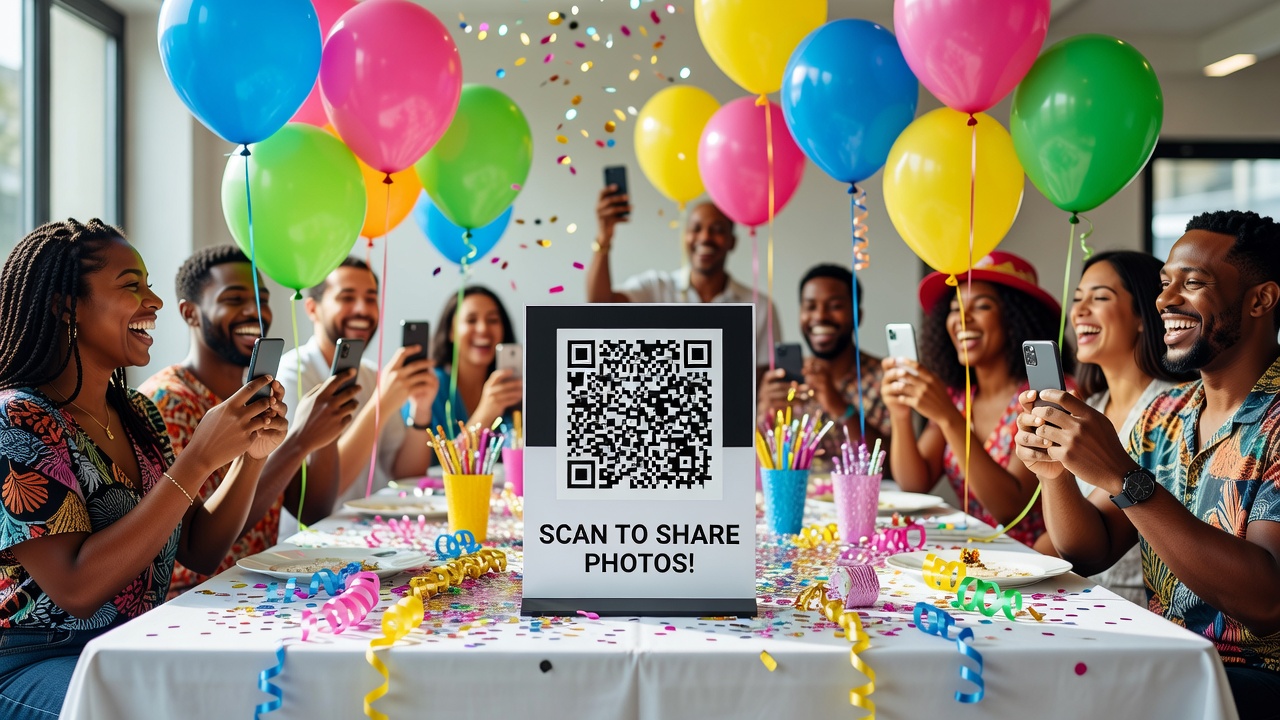
An event QR code is the simplest way to collect every photo from a birthday party without chasing guests for their camera rolls afterward. You have seen QR codes on restaurant menus and concert tickets — now they are the smartest tool a party host can use to build a shared photo gallery that fills up in real time, with zero app downloads and zero awkward follow-up texts.
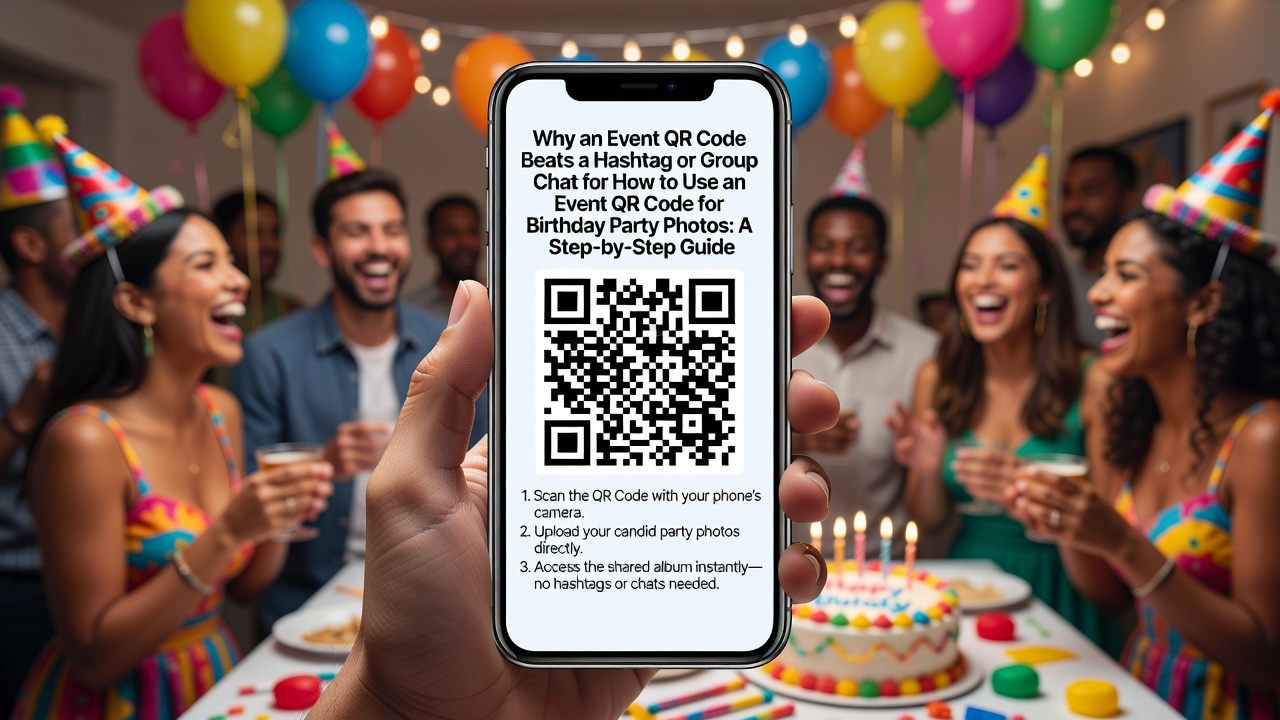
This guide walks you through the entire process: setting up your event QR code, displaying it at the party so guests actually use it, and tailoring the experience for kids, teens, and adults. By the time you finish reading, you will know exactly how to turn every guest's phone into a party camera — and walk away with a complete album of candid moments you would have missed otherwise.
Why an Event QR Code Beats a Hashtag or Group Chat
Before we get into the how-to, let us address the obvious question: why not just use a party hashtag or a WhatsApp group? The short answer is that both leave most of your photos behind.
A hashtag captures maybe 20 to 30 public posts — the polished shots guests feel comfortable sharing on Instagram or Facebook. The private photos, the blurry-but-hilarious candids, the behind-the-scenes moments, and the shots from guests who do not use social media at all never reach you. A group chat is slightly better, but it compresses every photo, fills up everyone's phone storage, and still requires you to manually save and organize everything afterward.
An event QR code solves all of this at once. Guests scan the code with their phone camera, tap the link, and start shooting directly from their browser. Every photo lands in one shared gallery that you control. No app install. No account creation. No compression. No chasing people the next day. It is the difference between getting 30 photos and getting 300.
Step 1: Choose Your Event QR Code Tool
You have two paths here: a generic QR code generator that links to a photo-sharing destination, or a purpose-built guest camera platform that handles the QR code, the gallery, and the photo collection in one place.
Option A: Purpose-Built Guest Camera (Recommended)
Platforms like Picshots are designed specifically for event photo collection. You create an event, get a unique QR code, and every guest who scans it shoots directly into your shared gallery. The platform handles everything: the camera interface, the upload pipeline, the gallery view, and the download at the end. Setup takes under two minutes, and the QR code is ready to print immediately.
This is the recommended path for most party hosts because there is nothing to configure, no separate tools to chain together, and no risk of guests landing on a confusing page. The QR code opens a clean camera interface that works on every phone — iPhone, Android, old or new.
Option B: DIY with a QR Generator + Cloud Album
If you prefer a fully manual approach, you can generate a QR code using a free tool like QRCode Monkey or the built-in QR generator in Canva, and point it to a shared Google Photos album, a Dropbox file request, or an iCloud Shared Album. This works, but it comes with trade-offs: guests may need to sign in, the upload experience varies by platform, and you will spend time organizing photos after the party instead of enjoying the gallery as it fills up live.
For the rest of this guide, we will assume you are using a purpose-built guest camera platform — it is faster to set up, easier for guests, and gives you a live gallery during the party.
Step 2: Create Your Event and Generate the QR Code
Here is the step-by-step for setting up your event QR code on Picshots (the process is similar on most guest camera platforms):
- Go to the event creation page. Head to picshots.app/create and enter your event name — something like "Sarah's 30th Birthday" or "Liam's 8th Birthday Bash."
- Set your event date and time. This helps the platform organize your gallery and lets you schedule when the gallery goes live.
- Choose your privacy settings. Decide whether the gallery is visible to all guests during the party (recommended — it builds excitement and gets more people scanning) or private until you review the photos.
- Download your QR code. The platform generates a unique QR code for your event. Download it as a high-resolution PNG or SVG — you will need it for printing signs and table cards.
- Test the QR code. Before printing anything, scan the code with your own phone and a friend's phone (ideally one iPhone and one Android). Confirm the camera interface loads, take a test photo, and verify it appears in your gallery.
Total setup time: two to three minutes. The QR code is now ready to deploy at your party.
Step 3: Design and Print Your QR Code Display Materials
A QR code only works if guests see it and feel invited to scan it. A tiny code buried on a cluttered sign gets ignored. Here is how to make your event QR code impossible to miss — and impossible to resist.
Signage That Works
Your main QR code sign should follow three rules: it must be large enough to scan from a few feet away, it must include a short instruction (not everyone knows what a QR code does), and it must look like part of the party decor, not an afterthought.
A good sign reads something like: "Snap a photo for Sarah's birthday album! Scan the code — no app needed." Keep the text short. The QR code itself should be at least 2 inches (5 cm) square for table cards and 4 to 6 inches (10 to 15 cm) for a welcome sign. If the code is too small, guests with older phones or shaky hands will struggle to scan it.
Design the sign in Canva (free templates available) or use the print-ready files provided by your guest camera platform. Match the colors and fonts to your party theme — a pastel code on a balloon-themed sign for a kid's party, a sleek dark background for an adult cocktail birthday.
Where to Place QR Codes at the Party
One sign is not enough. Guests move around, and a single QR code at the entrance gets forgotten after the first five minutes. Place codes at multiple touchpoints:
- Welcome table or entrance: The first thing guests see. A framed sign with the QR code and a one-line instruction.
- Each table or seating area: Small tent cards (4×6 inches) with the QR code. Every table becomes a camera station.
- Near the cake or dessert table: Everyone takes photos of the cake anyway — give them somewhere to send those shots.
- By the gift table: Guests linger here. A QR code on the gift table catches candid moments as people drop off presents.
- Photo backdrop or selfie wall: If you set up a balloon arch or a themed backdrop, place a QR code sign right next to it. Guests will take photos there — make sure those photos reach you.
For outdoor parties, laminate your signs or use weatherproof card stock. A QR code on regular paper wilts in humidity or a surprise drizzle.
Step 4: Announce the QR Code During the Party
Even the best signage benefits from a verbal nudge. Here is a simple script you or the MC can use at the start of the party:
"Hey everyone — if you take any photos tonight, scan the QR code on your table or at the welcome sign. It opens a camera right in your phone, no app to download. Every photo goes straight into Sarah's birthday album, and you can see the gallery live during the party. Let us fill it up!"
Say it once during the first 30 minutes, and mention it again when the cake comes out or when the dance floor opens. The second reminder catches guests who arrived late or were distracted during the first announcement.
Step 5: Age-Group Tips for Different Birthday Demographics
An event QR code works for every age group, but how you present it and what you expect from guests changes depending on who is celebrating. Here is how to tailor the experience for three distinct birthday crowds.
Kids' Birthdays (Ages 5–12)
Kids' parties are chaos in the best way — running, screaming, cake on faces, piñata swings that nearly take out a parent. The photos you want are the messy, candid ones, and kids are not going to scan a QR code on their own. The parents are your photographers.
What works:
- Place QR codes at the adult seating area, not the kids' table. Parents sit there, check their phones, and have a moment to scan.
- Make the sign playful: "Parents: snap the chaos! Scan to share photos with [Kid's Name]'s family." Use bright colors and a fun font.
- Include the QR code on the party invitation (digital or printed). Parents can scan it before the party even starts and know what to expect.
- Set a loose theme: "Capture the cake smash, the piñata, and the gift opening." Giving parents a mission increases participation.
- Do not expect kids to contribute. They will be too busy being kids. The gallery fills up from the adults in the room.
Pro tip: After the party, send the gallery link to parents who could not attend. They get to see the fun they missed, and you get goodwill points.
Teen Birthdays (Ages 13–17)
Teens live on their phones, which makes them the easiest group to get scanning — and the hardest group to get scanning well. They will fill your gallery with selfies, group poses, and TikTok-style clips. The challenge is making sure they also capture the moments you want: the birthday person blowing out candles, the group around the table, the candid laughs.
What works:
- Make the QR code feel like part of the social experience, not a homework assignment. Frame it as: "Everyone's photos in one place — see the gallery live on the TV."
- Cast the live gallery to a TV or projector screen during the party. Teens love seeing their photos appear in real time — it turns photo-sharing into a game.
- Place QR codes near the selfie zone, the snack table, and wherever people congregate. Teens cluster in groups; put codes where the clusters form.
- Do not over-explain. A sign that says "Scan to add your pics 📸" is enough. Teens know what QR codes do.
- Set a loose shot limit per guest (most guest camera platforms let you do this). It prevents one person from uploading 200 near-identical selfies.
Pro tip: At the end of the party, announce that the best photo in the gallery wins a small prize (a gift card, a snack basket). Competition drives participation.
Adult Birthdays (Ages 18+)
Adult birthday parties range from cocktail gatherings to full-blown dinner-dance events. The common thread: adults want the experience to feel effortless. They will scan a QR code if it is obvious, quick, and does not require them to download anything or create an account.
What works:
- Keep the signage elegant and minimal. A small acrylic stand with the QR code and the words "Share your photos" fits a cocktail party aesthetic. No cartoon fonts, no excessive explanation.
- Place QR codes at the bar, on cocktail tables, and near any photo-worthy setup (a flower wall, a neon sign, a view). Adults take photos where the moment feels special — put the code where the moment happens.
- Mention the QR code during a toast or welcome speech. A 10-second mention from the host carries more weight than any sign.
- For milestone birthdays (30th, 40th, 50th), the gallery becomes a keepsake. Frame it that way: "Every photo from tonight goes into one album you will have forever."
- If the party has a professional photographer, the QR code gallery complements their work — it does not replace it. The photographer captures the polished portraits; the QR code captures everything the photographer misses.
Pro tip: After the party, download the full-resolution gallery and create a shared album link. Send it to guests with a thank-you message. It is the classiest follow-up you can send, and it reminds everyone what a great time they had.
Creative Display Ideas for Your Event QR Code
Beyond the standard sign-on-a-table approach, here are a few display ideas that make your event QR code feel like part of the party design:
- Balloon-embedded QR code: Print the QR code on a large round sticker and attach it to a helium balloon at the center of each table. It floats at eye level and is impossible to miss.
- Cake topper QR code: Print a small QR code on a food-safe card and place it next to the cake. Every guest who takes a photo of the cake sees the code and knows where to send it.
- Napkin or coaster print: For sit-down dinners, print the QR code directly on napkins or drink coasters. It sits in front of every guest for the entire meal.
- Projected QR code: If you have a projector or a TV screen at the venue, display the QR code on screen between slideshows or during the background music. It is visible from across the room.
- Photo booth strip integration: If you have a photo booth, add the QR code to the bottom of every printed photo strip. Guests take home a physical keepsake and a way to share more photos.
- Digital invitation inclusion: Add the QR code to the digital invitation or the event page. Guests who scan it before the party know what to expect and may even test it ahead of time.
What to Do After the Party
Your event QR code gallery is full of photos. Now what?
- Review and curate. Most guest camera platforms let you hide or delete photos before sharing the final gallery. Remove duplicates, blurry shots, and anything that should not be public.
- Download the full-resolution gallery. Do this within the platform's retention window (typically 30 to 90 days). Save the photos to your computer, an external drive, or a cloud backup.
- Share the gallery link. Send the curated gallery to all guests with a thank-you message. They get to relive the party, and you get the satisfaction of a complete album.
- Create a photo book or print favorites. Pick 20 to 30 of the best candid shots and turn them into a small photo book. It is a better keepsake than any single framed photo.
- Save the QR code template. If you used a custom-designed sign, save the Canva file or the print template. You will want it for the next party.
Common Questions About Event QR Codes for Birthday Parties
Do guests need to download an app to use the QR code?
No — that is the whole point. A proper event QR code setup uses a browser-based camera. Guests scan the code with their phone's built-in camera app, tap the link that appears, and start shooting directly in their browser. No app store, no download, no account creation. This is the single biggest factor in whether guests actually participate — if they have to download something, most will not bother.
What if the venue has poor cell service or no WiFi?
Most guest camera platforms work on mobile data, so WiFi is not required. If the venue has genuinely poor cell service (basement venues, remote outdoor locations), test the QR code at the venue during setup. If it does not load, you have two options: set up a mobile hotspot from a phone that does get signal, or use a platform that supports offline queuing (photos save to the guest's phone and upload automatically when they regain signal).
Can I control what photos appear in the gallery?
Yes. Most platforms give the host moderation controls: you can require approval before photos go live, set per-guest shot limits, and remove any photo from the gallery at any time. For kids' parties especially, enabling photo approval is a good idea — it prevents anything inappropriate from appearing on a live screen.
How many photos should I expect from a birthday party?
For a party of 30 guests, expect 100 to 300 photos over a three-hour event. Participation rates are highest when the QR code is visible in multiple locations and the host mentions it at least once. Teen parties tend to generate the most photos per guest; adult cocktail parties generate fewer but higher-quality shots.
Is an event QR code only for birthdays?
Not at all. The same setup works for weddings, baby showers, corporate events, family reunions, graduation parties, and any gathering where guests take photos. The QR code and gallery are event-type agnostic — you just change the event name and the sign design. If you host multiple events per year, you will reuse this workflow every time.
Your Birthday Album Starts With One Scan
You have the step-by-step plan. You know where to place the QR codes, how to announce them, and how to tailor the experience for any age group. The only thing left is to set it up.
Create your event on picshots.app/create, download your QR code, print a few signs, and let your guests do the rest. No app, no chase, no missed moments — just a complete album of every candid, chaotic, wonderful photo from the party. Because the best birthday photos are never the ones you take yourself. They are the ones your guests take when you are too busy celebrating to notice.
Quick answers
Do guests need to download an app to use the QR code?
No — a proper event QR code setup uses a browser-based camera. Guests scan the code with their phone's built-in camera app, tap the link that appears, and start shooting directly in their browser. No app store, no download, no account creation.
What if the venue has poor cell service or no WiFi?
Most guest camera platforms work on mobile data, so WiFi is not required. If the venue has genuinely poor cell service, test the QR code during setup. Options include setting up a mobile hotspot or using a platform that supports offline queuing.
Can I control what photos appear in the gallery?
Yes. Most platforms give the host moderation controls: you can require approval before photos go live, set per-guest shot limits, and remove any photo from the gallery at any time.
How many photos should I expect from a birthday party?
For a party of 30 guests, expect 100 to 300 photos over a three-hour event. Participation rates are highest when the QR code is visible in multiple locations and the host mentions it at least once.
Is an event QR code only for birthdays?
Not at all. The same setup works for weddings, baby showers, corporate events, family reunions, graduation parties, and any gathering where guests take photos. The QR code and gallery are event-type agnostic.