
Wedding Planning
How to Create a Wedding Photo Sharing Station That Guests Actually Use
A wedding photo wall only works if guests actually use it. Here's how to design a photo sharing station with the right signage, lighting, props, and placement to maximize participation.
Why Most Wedding Photo Stations Fail
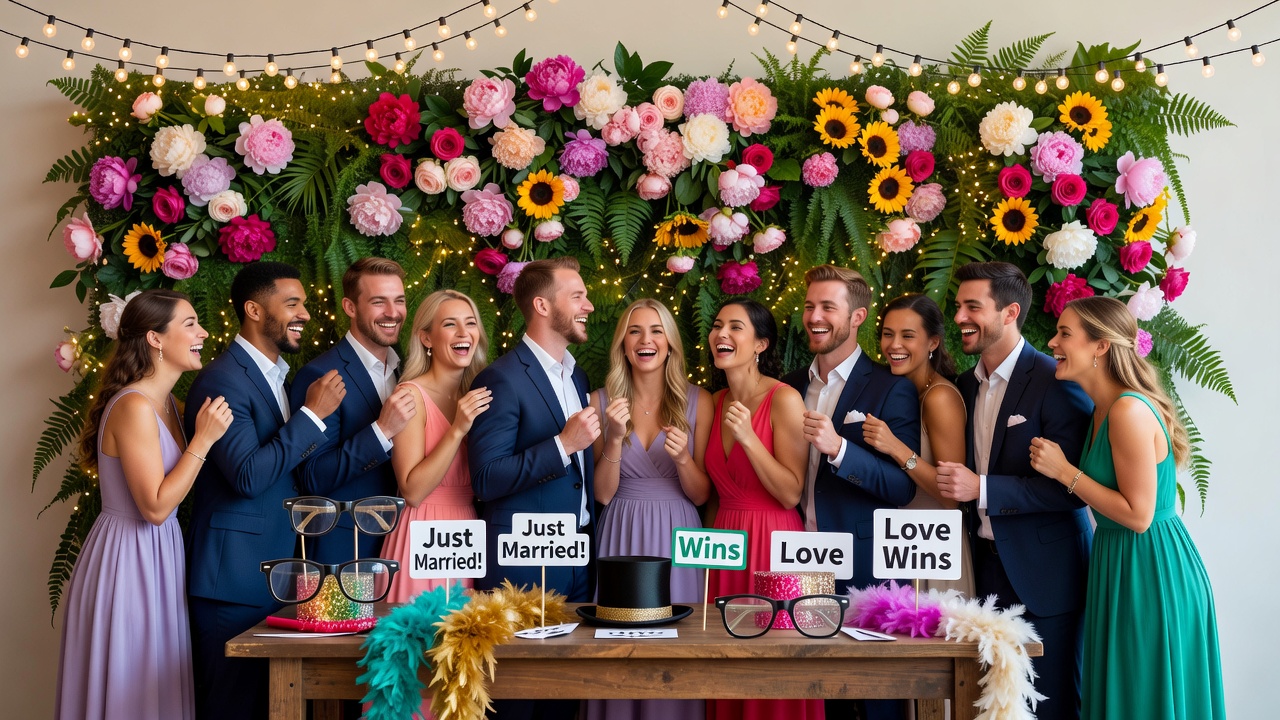
A wedding photo wall sounds like a fantastic idea — until the reception ends and you realize only twelve photos were taken. The problem isn't the concept. It's the execution. Most photo stations fail because they're tucked in a corner, poorly lit, lack clear instructions, or feel too formal for guests to relax and participate.
The good news? With thoughtful design choices around signage, lighting, props, and placement, you can build a photo sharing station that becomes one of the most memorable parts of your reception. This guide walks through each element so you can maximize guest engagement and capture moments your photographer might miss.
Start With Strategic Placement
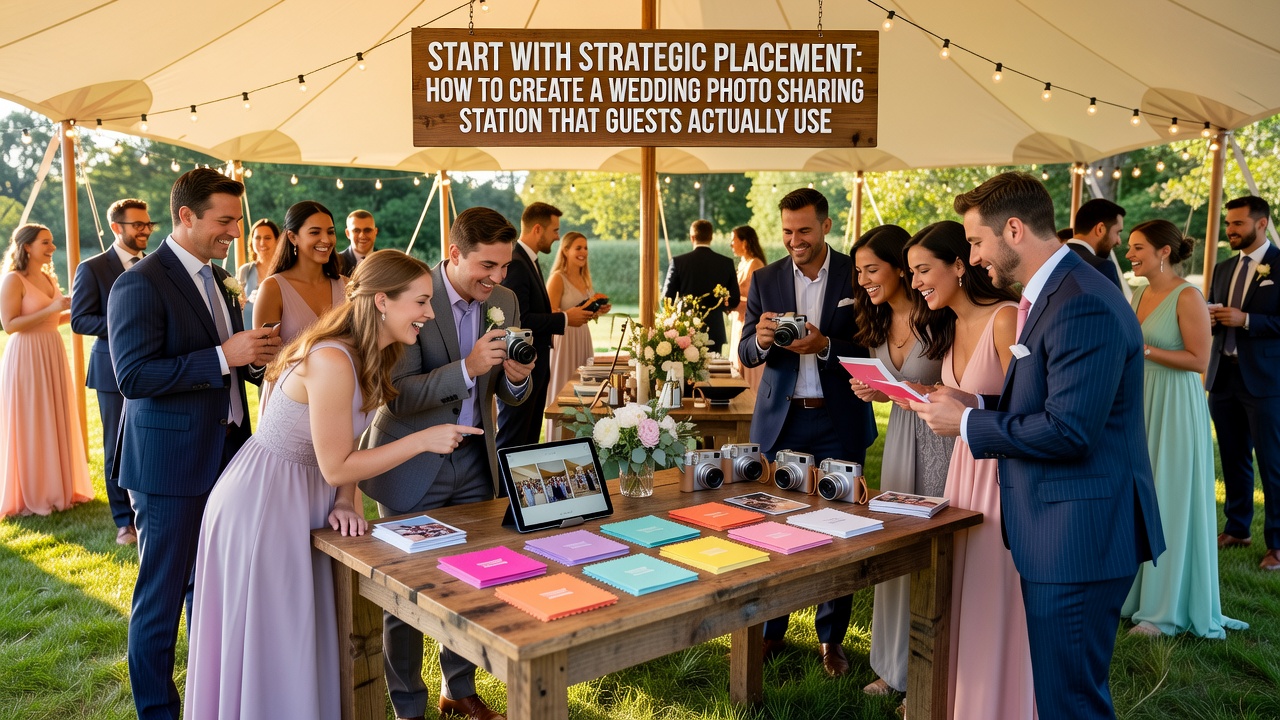
Where you put your wedding photo wall matters more than what's on it. A beautiful station in a dead zone of the venue will get ignored. Here's how to position it for maximum foot traffic:
- Near the entrance or bar area — Guests naturally congregate near drinks. Placing the station along the path to the bar guarantees eyeballs.
- Along the route to the dance floor — High-traffic corridors ensure the station gets noticed without forcing anyone to detour.
- Avoid the far corner — If guests have to go looking for it, they won't. The station should be impossible to miss.
- Account for flow — Leave enough room for 4–5 people to gather without blocking walkways. Crowding kills participation.
- Keep it away from the DJ speakers — Photo stations invite conversation and laughter. Nobody wants to shout over music.
Design Signage That Actually Gets Read
Signage is the difference between a wedding photo wall that gets used and one that gets ignored. Your signs need to do three things: get attention, explain what to do, and make it feel fun rather than obligatory.
Keep the Message Short and Clear
Guests are socializing, not reading essays. Your main sign should answer one question in under ten words: What do I do here?
Examples that work:
- “Snap. Share. Celebrate.” with a QR code below
- “Grab a prop, take a photo, text it to [number]”
- “Help us build our wedding photo wall — upload your pics!”
Use Design Principles That Pop
Your signage should match your wedding aesthetic but remain readable from at least ten feet away:
- Contrast — Dark text on light background or vice versa. Pastel-on-pastel looks pretty up close but vanishes from across the room.
- Font size — Headers at minimum 2-inch tall letters. Body text at 1 inch. If guests need to squint, they'll skip it.
- One focal sign — Don't clutter the station with multiple competing messages. One large clear instruction sign beats five small ones.
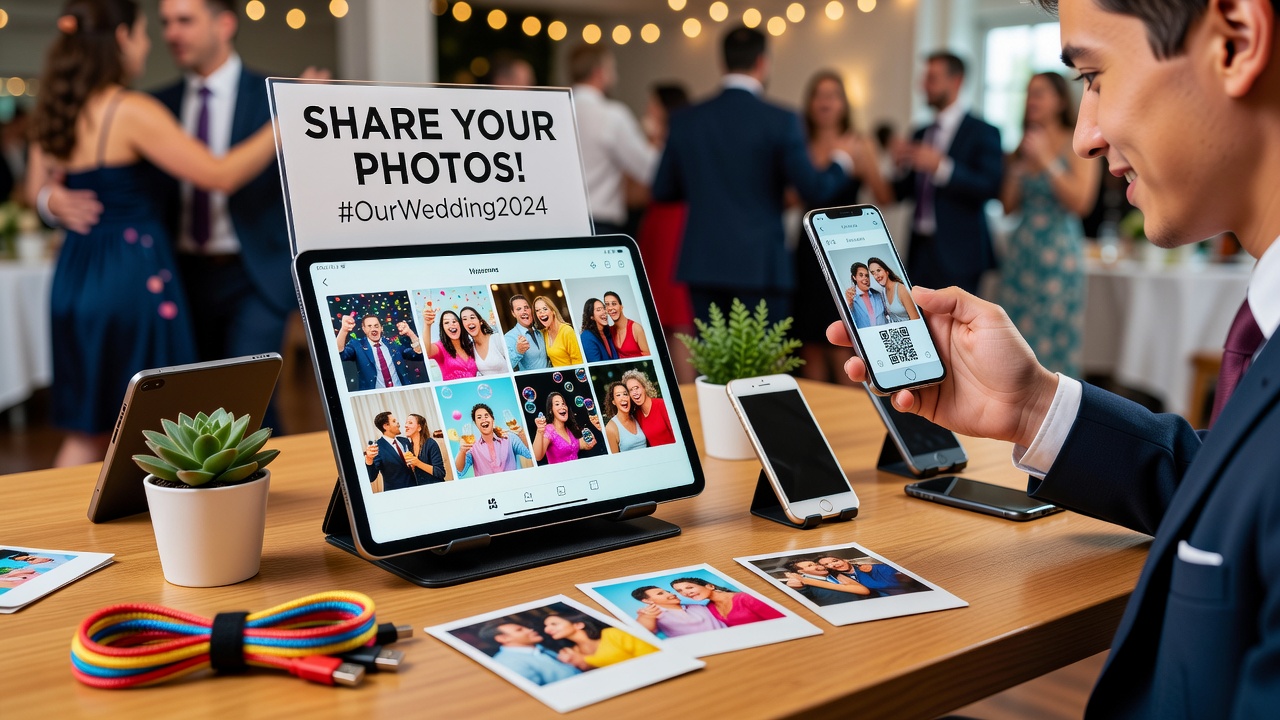
- Include a QR code — If you're using a digital sharing platform, a QR code eliminates friction. Guests scan, upload, done.
Light It Like a Pro
Lighting is the make-or-break factor for photo quality at your station. Even the best wedding photo wall looks disappointing when every shot is dark, blurry, or washed out. You don't need professional gear — just intention.
The Three-Light Formula
- Key light — A soft, diffused light source placed at a 45-degree angle from where guests stand. A ring light or a diffused LED panel works perfectly.
- Fill light — A second, softer light on the opposite side to reduce harsh shadows. Even a white reflector board bouncing the key light works.
- Backdrop light — A subtle light aimed at the backdrop or wall behind guests to create depth and separation from the background.
Practical Lighting Tips
- Avoid overhead venue lights — They cast unflattering shadows under eyes and chins. If the venue has harsh overheads, position your station off to the side.
- Use warm tones — Aim for 2700K–3000K color temperature. Warm light flatters skin tones and matches reception ambiance.
- String lights as fill — Edison bulb string lights strung behind or around the station add ambiance and act as a gentle fill light source.
- Test before the reception — Take a few test shots with your phone during setup. If photos look dark or blown out, adjust before guests arrive.
Curate Props That Encourage Participation
Props break the ice. They give guests permission to be silly, and they turn a photo station from “stand here and smile” into “let's do something fun.” But prop selection requires curation — too many options create decision paralysis, and cheap props feel tacky.
Prop Categories That Work
- Signage props — Mini chalkboards or acrylic signs with phrases like “Drunk in Love” or “Mother of the Bride.” These get guests laughing and interacting.
- Wearables — Oversized sunglasses, floral crowns, bow ties, and veils. Stick to 6–8 options so the rack stays organized.
- Thematic items — If your wedding has a theme (beach, rustic, vintage), tie props to it. A nautical wedding could include captain's hats and rope frames.
- Frame props — Empty ornate frames guests hold up around their faces. Simple, reusable, and always popular.
Prop Management Tips
- Display, don't pile — Hang props on hooks or a pegboard. A pile of props in a basket looks messy and discourages browsing.
- Include a mirror — A full-length mirror near the station lets guests check themselves before snapping. It increases confidence and participation.
- Refresh throughout the night — Assign someone to tidy the prop area every hour. A scattered prop table signals “nobody cares about this.”
- Sanitize between uses — Keep wipes nearby for wearable props like sunglasses and veils.
Make It Frictionless to Share
Your wedding photo wall only fills up if sharing is effortless. The sharing mechanism should take fewer than fifteen seconds from photo to upload. Here are the most reliable options:
- QR code to a shared album — Google Photos, Apple Shared Album, or a wedding-specific app. Scan, upload, done.
- Dedicated phone number — Set up a number (Google Voice works) and display it on the sign. “Text your photos to 555-0123.”
- Disposable camera station — For guests who prefer analog. Place 3–5 cameras with a sign: “Snap a few shots and leave the camera on the table.”
- Bluetooth instant printer — If budget allows, a portable printer lets guests print photos on the spot and pin them to a physical wall. This creates a live, growing display.
Assign a Station Champion
The single most effective tactic for boosting participation: assign one person to be the station champion. This isn't a formal role — it's a gregarious friend or family member who naturally gravitates toward the station and pulls others in.
Their job is simple:
- Demonstrate how it works when guests look confused
- Encourage groups to take photos together
- Restyle props and keep the area tidy
- Take the first few photos themselves to break the ice
A station champion can triple the number of photos your wedding photo wall collects. People participate when they see others participating.
Frequently Asked Questions
How much does a wedding photo station cost?
A basic DIY station with signage, string lights, and props can cost $50–$150. Adding a ring light, custom backdrop, and instant printer pushes the budget to $200–$500. Digital-only stations using QR codes are the most budget-friendly option.
What's the best photo sharing method for guests?
A QR code linking to a shared Google Photos or Apple album is the simplest for most guests. It works on any smartphone, requires no app download, and uploads take seconds. Display the QR code prominently on your main sign.
When should the photo station be open?
From the start of the reception through the last dance. The peak usage window is typically during cocktail hour and the hour after dinner, when guests are socializing but not yet dancing. Keep the station accessible the entire evening to capture spontaneous late-night photos.
Final Thoughts
A great wedding photo wall isn't about expensive equipment — it's about removing friction. Place it where people already walk. Light it so photos look good without effort. Use props that invite play. Make sharing take less than fifteen seconds. And give someone the job of pulling the first guests in.
Do those five things, and your wedding photo station won't just be a decoration — it'll be one of the most talked-about parts of your reception, and a source of candid moments no photographer could capture.
Quick answers
How much does a wedding photo station cost?
A basic DIY station with signage, string lights, and props can cost $50–$150. Adding a ring light, custom backdrop, and instant printer pushes the budget to $200–$500. Digital-only stations using QR codes are the most budget-friendly option.
What's the best photo sharing method for guests?
A QR code linking to a shared Google Photos or Apple album is the simplest for most guests. It works on any smartphone, requires no app download, and uploads take seconds. Display the QR code prominently on your main sign.
When should the photo station be open?
From the start of the reception through the last dance. The peak usage window is typically during cocktail hour and the hour after dinner, when guests are socializing but not yet dancing.