
Event Planning
How to Collect Photos from a Festival or Retreat: A Host's Guide
A practical guide for festival and retreat organizers on setting up an event photo gallery, managing connectivity challenges, and collecting photos from large groups across multi-day events.
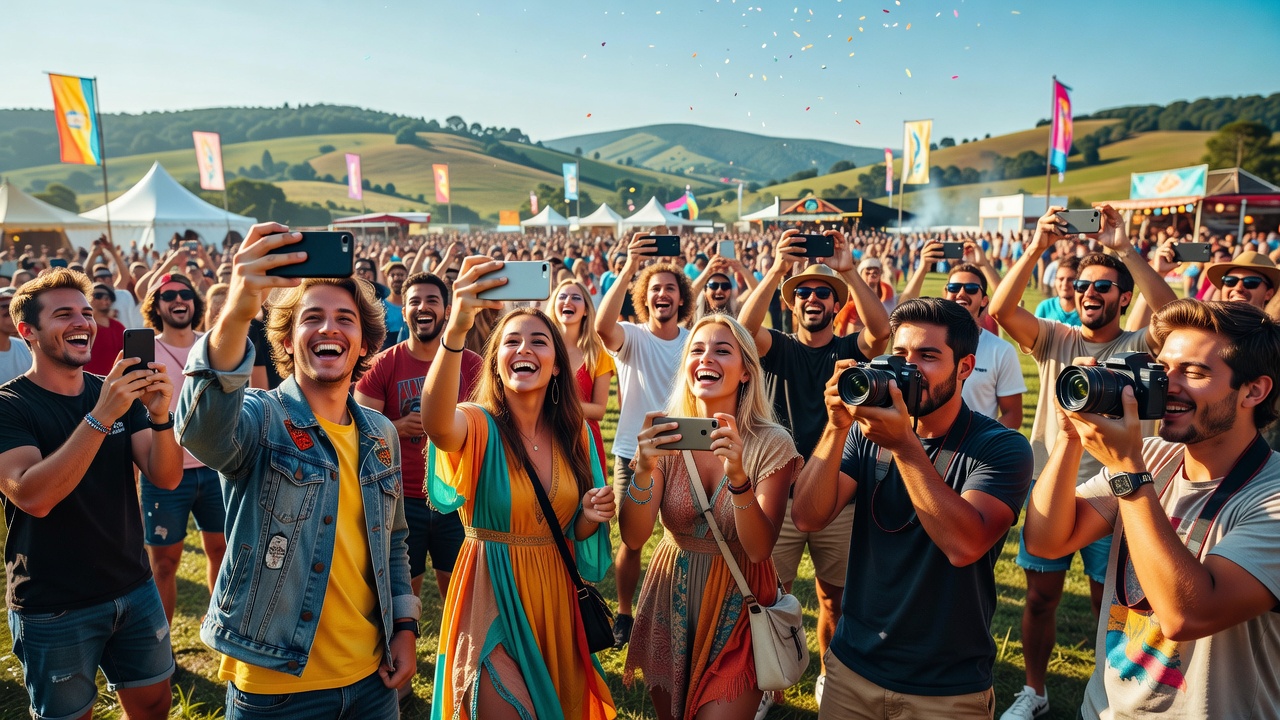
Setting up an event photo gallery is one of the most overlooked logistics when you're running a festival or retreat. Everyone takes photos. Everyone wants to see everyone else's photos. And yet, by the time the event wraps, most of those images vanish into individual phones, never to be shared. As a host, you can change that — but only if you plan your photo collection strategy before the first attendee arrives.
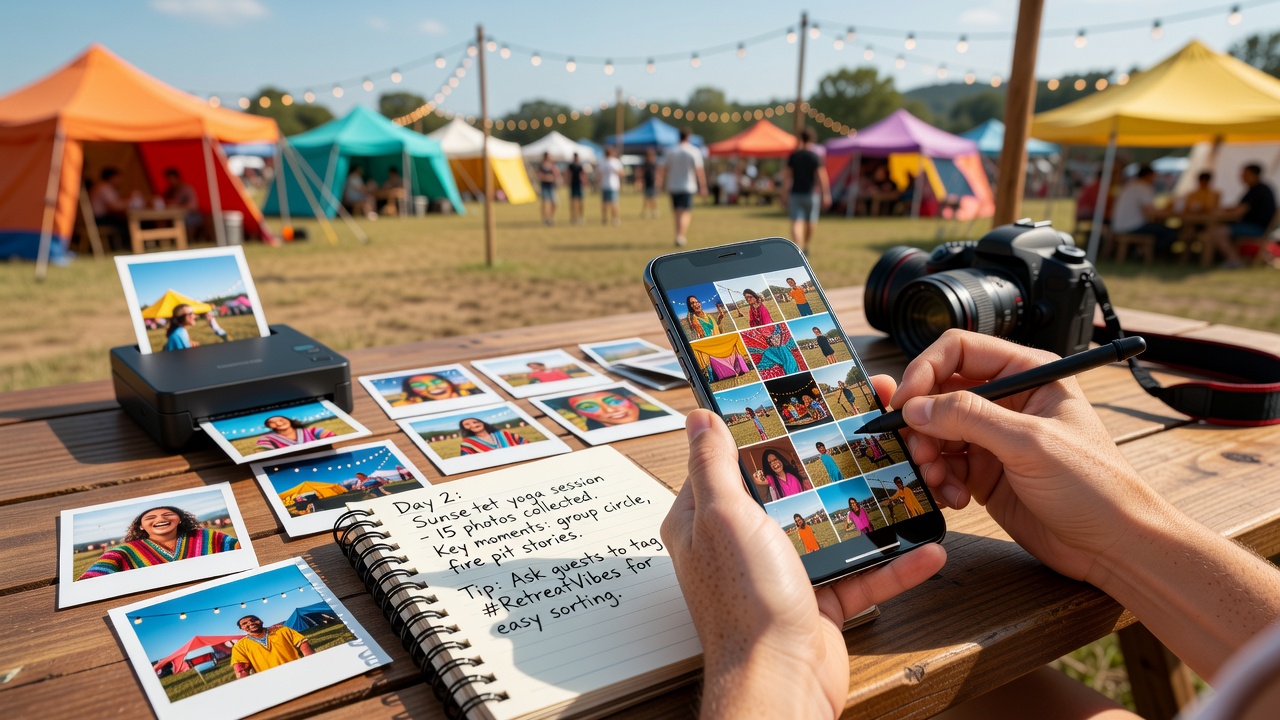
This guide walks through everything you need to know: choosing the right tools, handling spotty connectivity, managing diverse photo needs across different participant groups, and building a workflow that actually gets people to contribute.
Why Photo Collection Matters for Multi-Day Events
Festivals and retreats are immersive experiences. Participants form bonds over several days, and photos become the primary way those memories survive afterward. But photo collection isn't just sentimental — it serves real operational purposes:
- Marketing and promotion: User-generated content from attendees is the most authentic marketing material you'll ever get. Future attendees want to see real people having real experiences.
- Community building: A shared event photo gallery gives participants a reason to reconnect after the event, comment on each other's shots, and stay engaged with your community.
- Documentation: For retreats with workshops, performances, or ceremonies, photos serve as documentation that can inform future programming.
- Sponsor deliverables: If you have sponsors or partners, they'll want to see their branding in action. A well-organized photo pool makes assembling sponsor reports easy.
The problem is that without a system, you end up with a fragmented mess — some photos on Instagram, some in a WhatsApp group that maxes out at 256 members, some on phones that people never get around to uploading.
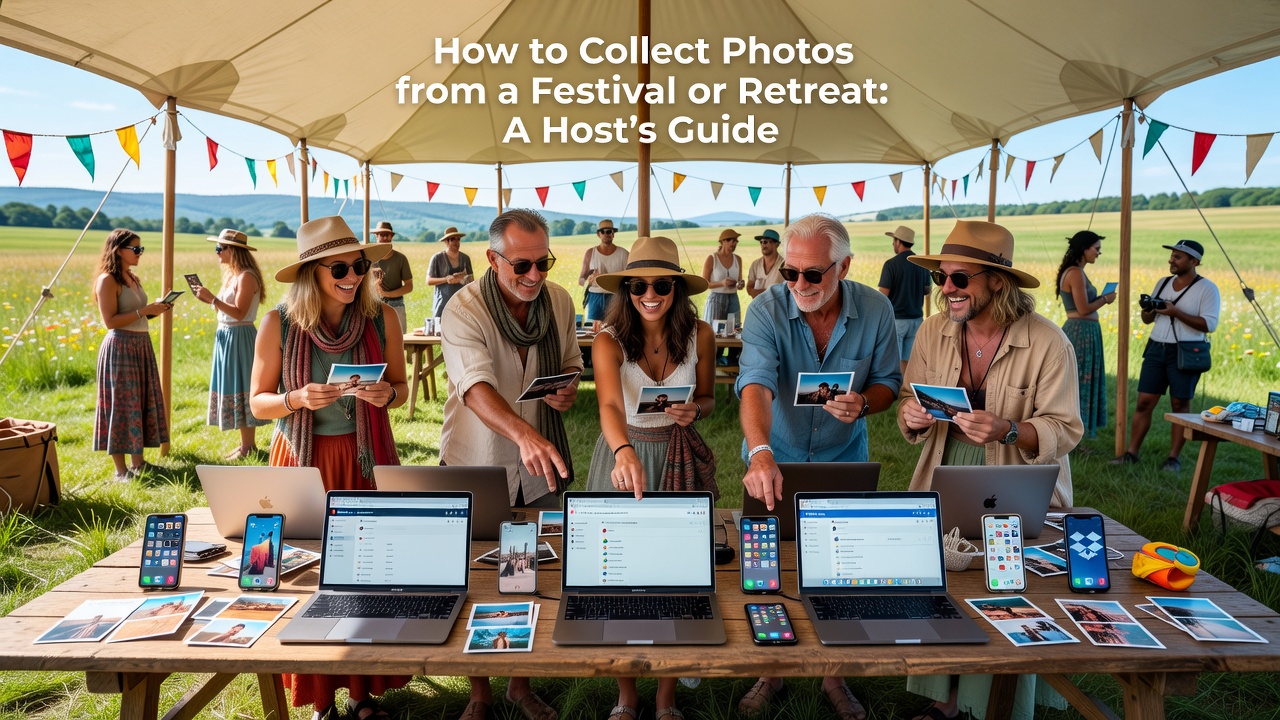
Step 1: Choose Your Photo Collection Platform
Your platform choice determines everything downstream — how easy it is for attendees to upload, whether it works offline, how you organize and moderate the results, and what the final event photo gallery looks like. Here are the main categories:
Cloud-Based Shared Albums
Services like Google Photos Shared Albums, Apple Shared Albums, and Amazon Photos allow collaborative albums where multiple people contribute. These are familiar to most users, which reduces friction. However, they have limitations: Google Photos caps shared albums at 20,000 items, Apple Shared Albums require everyone to use Apple devices, and neither gives you much control over organization or branding.
Dedicated Event Photo Platforms
Platforms designed specifically for event photo sharing — such as Picshots, Waldo Photos, or Eventboard — offer features tailored to your use case: branded gallery pages, facial recognition to help attendees find photos of themselves, moderation tools, and integration with event registration. These typically handle large volumes better than consumer cloud albums and give you a polished, embeddable event photo gallery you can showcase on your website.
File-Sharing and Storage Solutions
Dropbox, Google Drive, and similar services work in a pinch. Create a shared folder, send the link, and let people drop files in. The downside: no organization, no metadata, no way to sort by day or activity, and no visual gallery experience. Attendees have to download files to view them properly. Use this as a backup, not a primary solution.
Self-Hosted Galleries
If you have technical resources, self-hosting with tools like PhotoPrism, Nextcloud, or a WordPress gallery plugin gives you maximum control. You can customize the look, integrate it with your event website, and avoid per-attendee fees. The trade-off is setup complexity and the need for reliable hosting.
Step 2: Plan for Connectivity Challenges
This is where festival and retreat photo collection gets genuinely hard. Many events happen in rural areas, mountains, beaches, or other locations where cell service is spotty and Wi-Fi is either nonexistent or overwhelmed by hundreds of simultaneous users.
Offline Upload Strategies
Don't assume attendees will upload photos in real time. Instead, build a system that works with delayed uploads:
- Local upload stations: Set up a laptop or tablet at a central location (registration desk, dining hall, main stage) where attendees can hand off their phone or plug in via USB/cable to transfer photos directly. A volunteer can manage the station during designated hours.
- QR code drop zones: Post QR codes around the venue that link to your upload page. Even if connectivity is poor in the moment, attendees can scan the code and upload later when they reach a signal zone.
- SD card collection: For photographers using dedicated cameras, have labeled SD card sleeves at the registration desk. Photographers drop their cards, your team dumps the images, and cards are returned the next day.
- Bluetooth transfer: Some platforms support Bluetooth-based photo transfer from phones to a local hub device, which then syncs to the cloud when connectivity returns.
Bandwidth Management
If you do have limited Wi-Fi, be strategic about how you use it:
- Set upload size limits — request that attendees upload compressed versions (e.g., 2048px on the long edge) rather than full-resolution files during the event. Full-resolution uploads can happen after everyone goes home.
- Designate specific upload windows (e.g., 2–4 PM and 8–10 PM) to spread the load across time rather than having everyone hit the network simultaneously.
- If you have a satellite or limited backhaul connection, prioritize upload traffic over streaming and social media. Communicate this to attendees so they understand why the Wi-Fi feels slow.
Step 3: Address Diverse Photo Needs
Not everyone at your event has the same relationship with photos. A festival headliner performer needs high-resolution promotional shots. A retreat participant wants candid moments with their workshop group. A vendor wants photos of their booth with good foot traffic. Your photo collection system needs to serve all of these constituencies.
Segment Your Collection
Instead of one massive photo dump, create structured categories within your event photo gallery:
- Performance / Main Stage: Photographers and attendees contribute shots of performances, ceremonies, and keynotes.
- Workshops and Sessions: Smaller group photos, activity shots, behind-the-scenes moments.
- Candid / Social: Campsite life, meal times, spontaneous moments — the stuff that captures the vibe.
- Vendor / Booth: Vendors submit or tag their own photos, or you assign a volunteer photographer to cover the vendor area.
- Staff / Behind the Scenes: Optional, but valuable for your team's own documentation and future planning.
Most dedicated photo platforms support albums or categories within a single event. If you're using a simpler solution like Google Drive, create subfolders for each category and share the appropriate links with the right groups.
Assign Photo Captains
For large events (200+ attendees), designate one or two people per activity or zone as "photo captains." Their job isn't to take every photo — it's to encourage people in their area to contribute, help less tech-savvy participants with the upload process, and flag great shots for featuring on your event's social channels. Photo captains can be volunteers, and the role adds social status that many attendees enjoy.
Step 4: Build the Upload Workflow
The biggest reason photo collection fails isn't technology — it's friction. If uploading photos requires more than 30 seconds of effort, most attendees won't do it. Here's how to minimize friction:
Make It Obvious
Before the event, send an email or message explaining exactly how to share photos. Include the upload link, a short how-to, and the QR code. During the event, put up signs with the QR code at high-traffic areas: bathrooms, dining hall, registration, stage edges. People photograph signs — make the sign worth photographing.
Make It Social
Gamify the process. Offer a small prize for the best photo of the event, judged by your team or voted on by attendees. Feature a "photo of the day" on your event's social media each evening. When people see their photos being highlighted, they upload more.
Make It Timely
The window for photo uploads is short. Most attendees will share photos within 48 hours of the event ending. After that, life takes over and the photos stay on their phones. Send a reminder within 24 hours of the event closing, and set a hard deadline (e.g., "Upload by Friday!") with a final reminder the day before.
Step 5: Moderate and Curate
Once photos start flowing in, you need a moderation process. This isn't about censorship — it's about quality control and safety.
- Review for consent: If your event had a photo consent policy (and it should), make sure photos of people who opted out aren't published publicly. Some platforms support automated facial recognition consent flags.
- Filter out junk: Blurry shots, accidental photos, and duplicates waste everyone's time. A quick pass by a volunteer team can dramatically improve gallery quality.
- Feature the best: Curate a "highlights" album from the full event photo gallery. This becomes your primary marketing asset — use it on your website, in future promotional materials, and in post-event emails.
- Organize chronologically: Sort photos by day and, if possible, by activity. This helps attendees find the moments they were part of and makes the gallery navigable rather than overwhelming.
Step 6: Have a Contingency Plan
Things will go wrong. Here are the most common failure modes and how to handle them:
- Platform goes down: Always have a backup. If your primary platform crashes, have a Google Drive or Dropbox folder ready as a fallback. Communicate the switch quickly via your event's communication channel (WhatsApp group, Slack, Telegram, etc.).
- Zero connectivity: If the venue has no signal at all, rely entirely on local collection methods — SD cards, USB transfers, and a dedicated upload station. Schedule a bulk sync to the cloud once the event is over and your team is back online.
- Low participation: If uploads are trickling in slowly, don't wait. Actively approach attendees, especially the more socially connected ones, and personally ask them to contribute. A direct ask from the host carries more weight than a sign on a wall.
- Storage limits: If you hit a storage cap mid-event, export what you have to a backup drive and clear space. Better yet, choose a platform with adequate storage from the start — calculate roughly 50–100 photos per attendee over a multi-day event, with an average file size of 3–5 MB.
Conclusion
Collecting photos from a festival or retreat doesn't require expensive technology or complex infrastructure. It requires planning, communication, and a workflow that respects how people actually behave. Choose a platform that fits your event's scale and connectivity reality. Segment your collection so different groups find what matters to them. Build an upload process with minimal friction. And always have a backup plan.
When you get it right, the result is more than a collection of images — it's a shared archive that extends the life of your event far beyond the final day. Your event photo gallery becomes a community asset, a marketing engine, and a time capsule that attendees will revisit for years.
Frequently Asked Questions
What's the best platform for collecting photos at a festival with no internet?
For fully offline environments, use local collection methods like SD card drop-off points and USB transfer stations. Pair these with a platform that supports offline capture and cloud sync once connectivity is restored. Self-hosted solutions like PhotoPrism can run on a local server during the event and sync to the cloud afterward.
How do I get attendees to actually upload their photos?
Reduce friction and add incentives. Post QR codes at high-traffic areas, send clear instructions before the event, feature a "photo of the day" on your social channels, and offer a small prize for the best submission. Personal asks from hosts or photo captains also dramatically increase participation.
How much storage do I need for a multi-day event photo gallery?
Estimate 50–100 photos per attendee over a multi-day event, with an average file size of 3–5 MB each. For a 300-person event, that's 15,000–30,000 photos, or roughly 45–150 GB. Choose a platform that can handle that volume, or plan to export and clear space mid-event if needed.
Should I require photo consent at my event?
Yes. Include a photo consent option during registration — either opt-in or opt-out. This protects you legally and builds trust with attendees. Some dedicated photo platforms can automatically flag or blur individuals who opted out using facial recognition technology.
Quick answers
What's the best platform for collecting photos at a festival with no internet?
For fully offline environments, use local collection methods like SD card drop-off points and USB transfer stations. Pair these with a platform that supports offline capture and cloud sync once connectivity is restored. Self-hosted solutions like PhotoPrism can run on a local server during the event and sync to the cloud afterward.
How do I get attendees to actually upload their photos?
Reduce friction and add incentives. Post QR codes at high-traffic areas, send clear instructions before the event, feature a "photo of the day" on your social channels, and offer a small prize for the best submission. Personal asks from hosts or photo captains also dramatically increase participation.
How much storage do I need for a multi-day event photo gallery?
Estimate 50–100 photos per attendee over a multi-day event, with an average file size of 3–5 MB each. For a 300-person event, that's 15,000–30,000 photos, or roughly 45–150 GB. Choose a platform that can handle that volume, or plan to export and clear space mid-event if needed.
Should I require photo consent at my event?
Yes. Include a photo consent option during registration — either opt-in or opt-out. This protects you legally and builds trust with attendees. Some dedicated photo platforms can automatically flag or blur individuals who opted out using facial recognition technology.